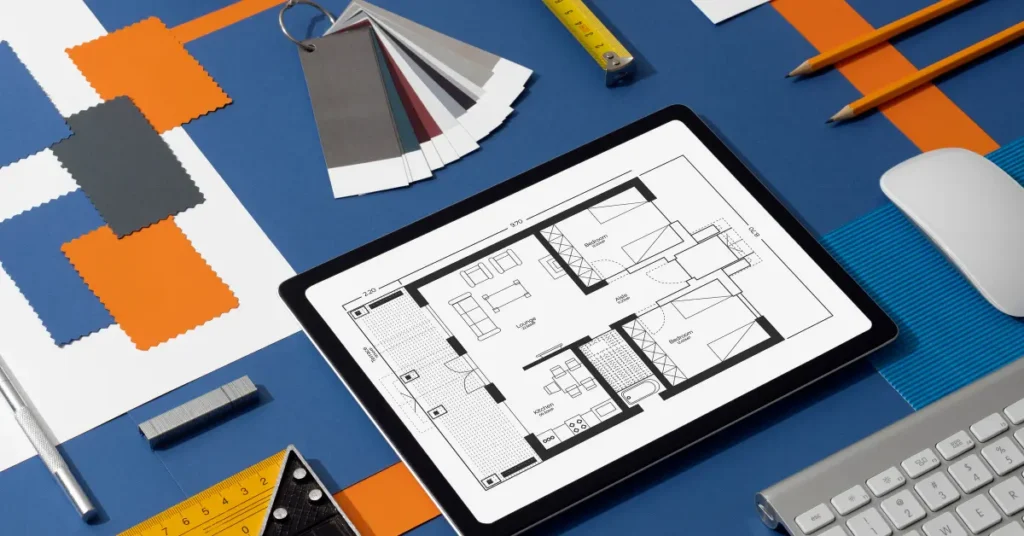


Mastering SketchUp LayOut: Efficiency and Clarity
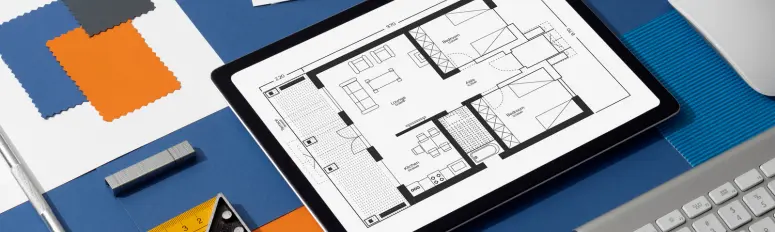
Creating detailed and organized documentation is a crucial aspect of architectural and design projects. SketchUp LayOut serves as a powerful tool to transition 3D models into the 2D realm of construction documents, presentations, and detailed drawings. However, maximizing its potential requires a deep understanding of how to efficiently organize and manipulate elements within your LayOut files. Here are seven expert tips to streamline your workflow and enhance the quality of your output.
Elevate Your Documentation Game with Proven LayOut Strategies
1. Harness the Power of Trays for Organization
Trays in LayOut act as your central hub for managing various document elements. Whether it’s colors, shapes, text, or dimensions, organizing your trays effectively can significantly expedite your documentation process. Here’s how you can utilize them:
- Colors Tray: Customize linework colors, backgrounds, and transparency settings for overlaying elements while retaining clarity.
- Shape Style Tray: Fine-tune line and shape attributes such as types, thickness, and end styles, along with defining arrow styles for dimensions and annotations.
- Text Style Tray: Ensure consistency in font size, style, and alignment across your document for a professional look.
- Dimension Style Tray: Exercise precise control over dimensioning by setting architectural scale, precision, and style.
2. Master Dimensioning for Accuracy and Clarity
Dimensioning plays a crucial role in conveying accurate information. Follow these tips to maintain consistency and clarity in your dimensions:
- Set uniform text and shape styles before dimensioning to ensure consistency throughout your document.
- Prioritize referencing vector linework over the rasterized model for architectural precision.
- Utilize LayOut’s dimensioning tools to create precise and clear dimension lines, ensuring they are easy to read and understand.
Dimensioning is not just about indicating sizes; it’s also about communicating design intent effectively. By mastering dimensioning techniques, you ensure that your drawings are informative and easy to interpret for all stakeholders involved in the project.
3. Optimize Page Management
Efficiently manage multiple pages within a single file to organize your documentation logically. Clearly label pages according to their content to streamline navigation through your document. Here are some strategies for optimizing page management:
- Divide your document into sections such as floor plans, elevations, sections, and detail drawings to maintain clarity and organization.
- Use descriptive page names that accurately represent the content of each page, making it easier to locate specific information.
- Utilize LayOut’s page management tools to reorder, duplicate, or delete pages as needed, ensuring your document remains well-structured and easy to navigate.
4. Strategic Layering for Enhanced Visibility
Utilize layers to manage the visibility and organization of different elements within your pages effectively. Assign elements such as notes, dimensions, and model views to separate layers for finer control over visibility and prevention of unintended changes. Here’s how strategic layering can enhance visibility:
- Organize your layers in a hierarchical manner, with related elements grouped together for easy management.
- Use layer properties such as visibility and lock settings to control which layers are visible and editable, ensuring that your drawings remain clear and accurate.
- Take advantage of LayOut’s layer management tools to create, rename, or delete layers as needed, keeping your document organized and easy to work with.
5. Leverage Scrapbooks for Efficiency
Scrapbooks are a time-saving feature that allows you to save and reuse common elements across projects. Create custom scrapbook libraries tailored to your workflow for quick access to symbols, notations, and title blocks. Here’s how you can leverage scrapbooks to enhance efficiency:
- Create scrapbook collections for common design elements such as furniture, appliances, and annotations, making it easy to reuse them in multiple projects.
- Customize your scrapbook collections to suit your specific needs, adding or removing elements as needed to streamline your workflow.
- Take advantage of LayOut’s scrapbook management tools to organize, import, and export scrapbook collections, ensuring that your favorite design elements are always close at hand.
6. Optimal Rendering Strategies
Choose between raster and vector rendering based on the requirements of your document. While raster rendering balances performance and visual clarity for complex models, vector rendering ensures crisp edges and details for linework. Here’s how you can optimize rendering strategies for your LayOut documents:
- Use raster rendering for large, complex models that require realistic textures and shading, ensuring that your drawings are visually appealing and easy to understand.
- Reserve vector rendering for linework and annotations that require crisp, precise lines, making it easier to communicate design intent and technical details.
- Experiment with different rendering settings to find the right balance between performance and visual quality for your specific project requirements.
7. Embrace LayOut’s Unique Features
Take advantage of LayOut’s intuitive features for precise manipulation and alignment of elements within your document. Utilize grip points for accurate placement and rotation, and leverage inferencing for alignment similar to SketchUp’s 3D modeling environment. Here’s how you can embrace LayOut’s unique features to enhance your workflow:
- Use grip points to precisely position and rotate elements within your document, ensuring that everything is aligned correctly and visually appealing.
- Take advantage of LayOut’s inferencing system to align elements with precision, making it easier to create professional-looking drawings with minimal effort.
- Experiment with different alignment techniques to find the one that works best for your specific needs, whether it’s aligning elements along a common baseline or distributing them evenly across the page.
Conclusion
In conclusion, mastering SketchUp LayOut involves understanding its various features and employing them strategically to create clear, accurate, and visually appealing documentation. By implementing these seven tips, you can elevate your LayOut proficiency and enhance communication across all stakeholders involved in your architectural and design projects. Whether you’re a seasoned professional or just getting started with LayOut, these tips will help you streamline your workflow, save time, and produce high-quality drawings that effectively communicate your design vision.


