


If you’re a designer, architect, or artist who wants to bring your ideas to life in 3D, you’ve probably heard of SketchUp. This powerful 3D modeling software allows you to create complex geometries, architectural plans, and product designs with ease. But when it comes to 3D rendering, SketchUp needs a helping hand. That’s where V-Ray 5 comes in.
V-Ray 5 is a powerful rendering engine that can turn your SketchUp models into photorealistic images and animations. It offers advanced lighting, material, and texture options that allow you to create stunning visuals that look like real-life photographs. In this blog post, we’ll explore how V-Ray 5 and SketchUp go hand-in-hand in rendering and share some tips and tricks to optimize your workflow and improve the quality of your designs.

Tips and Tricks to Create Stunning Photorealistic 3D Renders with V-Ray 5 and SketchUp
- Lighting: The Key to Realism
One of the most important factors in creating photorealistic renders is lighting. Without proper lighting, your models will look flat, dull, and lifeless. V-Ray 5 offers a variety of lighting options, including natural, artificial, and HDR lighting. Natural lighting mimics the sun’s rays, while artificial lighting allows you to create custom light sources such as lamps and spotlights. HDR lighting, on the other hand, uses high dynamic range images to capture the full range of light and shadow in a scene.
To create realistic lighting in SketchUp with V-Ray 5, you need to understand the principles of light and shadow. For example, a bright light source such as the sun will cast harsh shadows, while a soft light source such as a cloudy sky will create diffuse shadows. By adjusting the intensity, color, and angle of your light sources, you can create different moods and atmospheres in your renders.
- Materials and Textures: Adding Detail and Depth
Another crucial aspect of 3D rendering is materials and textures. V-Ray 5 offers a wide range of material options, including metals, plastics, glass, wood, and more. You can also import custom textures or create your own using V-Ray’s built-in texture editor. Materials and textures can add detail and depth to your models, making them more realistic and immersive.
To create convincing materials and textures in SketchUp with V-Ray 5, you need to pay attention to details such as reflectivity, roughness, and bump mapping. For example, a metal surface will reflect light differently than a matte surface, while a rough surface will scatter light in different directions. By using the right combination of materials and textures, you can create surfaces that look like they have real-world properties.
- Workflow Optimization: Saving Time and Effort
When it comes to 3D rendering, time is money. The more time you spend tweaking settings and waiting for renders to finish, the less time you have to focus on your designs. V-Ray 5 offers several workflow optimization tools that can help you save time and effort.
For example, V-Ray’s interactive rendering mode allows you to see changes to your scene in real-time, so you can make adjustments on the fly. V-Ray’s denoising feature can also help you reduce render times by removing noise from your images without sacrificing quality. By learning how to use these tools effectively, you can streamline your workflow and focus on the creative aspects of your work.
- Tips and Tricks: Getting the Most Out of V-Ray 5 and SketchUp
Now that you know the basics of using V-Ray 5 and SketchUp for 3D rendering, let’s look at some tips and tricks to take your skills to the next level.
First, learn to use V-Ray’s camera settings to create different perspectives and compositions. By adjusting the field of view, focal length, and depth of field, you can create realistic camera effects such as bokeh and motion blur.
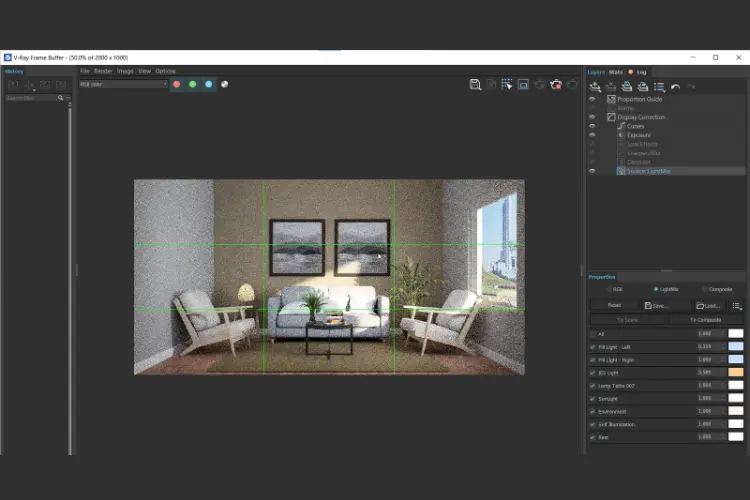
Second, take advantage of V-Ray’s built-in post-processing tools to enhance your images after rendering. V-Ray offers options such as color correction, vignetting, and lens distortion to add an extra layer of polish to your work.
Finally, don’t be afraid to experiment with different rendering techniques and settings. V-Ray 5 offers a wide range of options for fine-tuning your renders, including irradiance mapping, photon mapping, and brute force GI. By trying out different combinations of settings, you can discover new ways to achieve the look you want.
Conclusion
V-Ray 5 and SketchUp are the perfect combo for 3D rendering. With V-Ray’s advanced lighting, material, and texture options, and SketchUp’s intuitive modeling tools, you can create stunning visuals that bring your ideas to life. By mastering the basics of 3D rendering and taking advantage of V-Ray’s workflow optimization tools and post-processing options, you can optimize your workflow and improve the quality of your designs. So why not give V-Ray 5 and SketchUp a try and take your 3D rendering skills to the next level?


