


Demystifying Material Application in SketchUp: A Comprehensive Guide

Have you ever found yourself meticulously crafting a SketchUp model, only to be stumped by the seemingly capricious behavior of the Paint Bucket tool when applying materials to your components? You’re not alone. Many SketchUp users, from beginners to seasoned modelers, have encountered this puzzling scenario: initially, painting a component is a breeze, requiring just a single click to change its appearance.
Yet, as the modeling process progresses, that same straightforward task becomes a challenge, with the Paint Bucket tool refusing to cooperate as expected. Before you consider drastic measures like exploding and recreating your components, let’s delve into the root of this issue and uncover how to manage material application like a pro.
Understanding Material Hierarchy in SketchUp
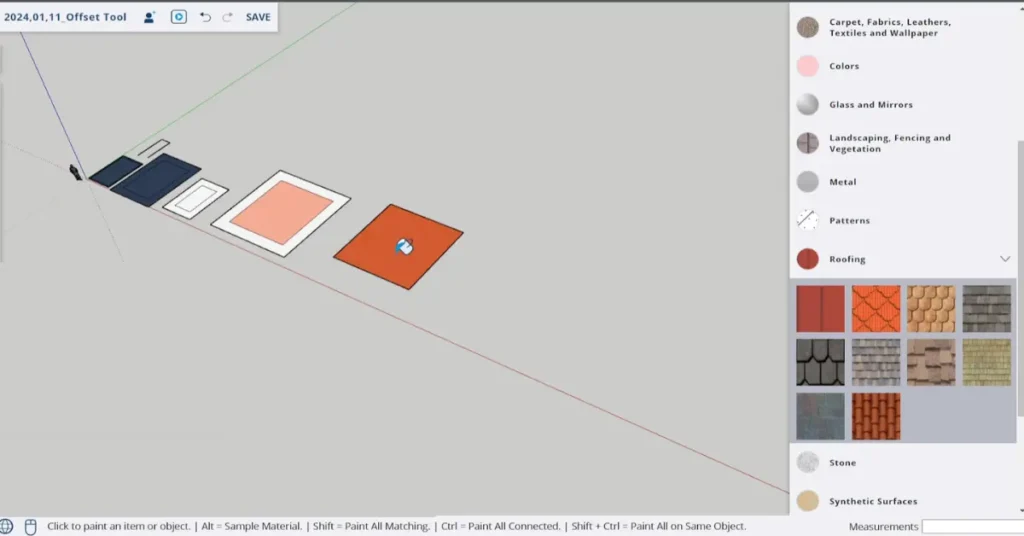
SketchUp’s material application logic is akin to layers of paint on a canvas, where the most specific layer takes precedence. When you first create a component and apply a material from the outside, you’re essentially painting the component’s “wrapper.”
This works perfectly until you start applying materials to individual faces within the component. Once a face is assigned its own material, it gains immunity against overpainting from the component level. This hierarchy ensures that detailed texturing work isn’t lost but can also lead to confusion if you’re unaware of the underlying principles.
The Key to Mastering Materials: Group/Component vs. Individual Face Attributes
The crux of the matter lies in the distinction between Group/Component material attributes and Individual Face material attributes. When a material is applied directly to a face within a component, it overrides any material applied to the component as a whole. This individual face material will remain dominant until it’s explicitly changed or reset to the default material.
How to Reset Materials and Regain Control
To regain control over your component’s appearance from the outside, follow these steps:
- Open the component for editing:
Double-click the component to enter its editing mode. - Select the faces:
Click on the faces that are not accepting the external material application. - Apply the default material:
Use the Paint Bucket tool to apply the default material to these faces, resetting their material attributes.
By resetting the faces to the default material, you clear the way for the component-level material application to take effect once again, allowing you to paint the entire component with a single click.
Best Practices for Smooth Sailing
- Keep the Entity Info dialog open:
This invaluable tool displays the material attributes of the selected entity, helping you understand what you’re working with at any given moment. - Check face orientation:
Use the Monochrome Face Style to ensure that the visible parts of your model have their faces correctly oriented. Correct face orientation is crucial for materials to display as expected. - Apply materials thoughtfully:
Consider whether you need to apply materials to individual faces or if applying them at the component or group level will suffice. This strategic approach can save you time and hassle in the long run.
Wrapping Up
By understanding SketchUp’s material hierarchy and mastering the control over Group/Component vs. Individual Face material attributes, you can navigate the complexities of material application with ease. Keep these tips in mind, and your SketchUp projects will not only look better but also be more efficiently managed.
Conclusion
In conclusion, mastering material application in SketchUp is essential for creating polished and professional-looking models. By understanding the material hierarchy and knowing how to navigate between Group/Component and Individual Face attributes, you can ensure consistency and efficiency throughout your design process.
Remember to keep the Entity Info dialog open to monitor material attributes, check face orientation to avoid unexpected results, and apply materials thoughtfully to optimize workflow. With these best practices in mind, you’ll be able to tackle material application challenges with confidence, resulting in stunning SketchUp projects that truly stand out.
So, embrace the intricacies of material application in SketchUp, and let your creativity flourish as you bring your designs to life. Happy modeling!


