


As an interior designer, SketchUp has become an indispensable tool in my workflow. This powerful 3D modeling software has revolutionized the way I approach my projects, from space planning to furniture placement and visualization.
In this blog post, I’ll be sharing my personal experience and tips on how to use SketchUp for interior design. Whether you’re a beginner or a seasoned pro, these insights will help you streamline your workflow and create stunning designs that will impress your clients.
Maximizing Efficiency and Creativity in Interior Design with SketchUp
- Getting started with SketchUp
If you’re new to SketchUp, the first step is to familiarize yourself with the interface and basic tools. One of the best ways to do this is by watching tutorials and practicing on sample projects. SketchUp’s official YouTube channel is a great resource for learning the basics, while online courses and workshops can take your skills to the next level.
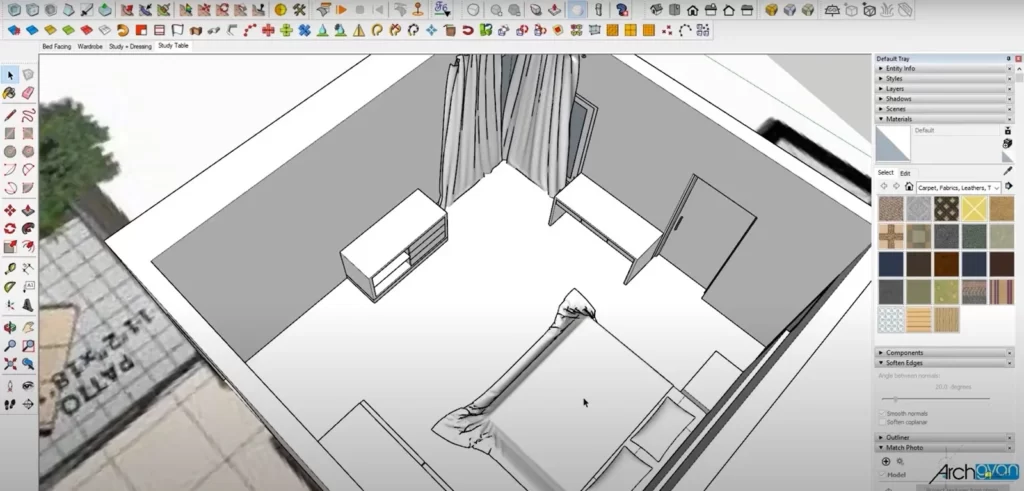
When you’re ready to start a new project, the first step is to create a 3D model of the space. This can be done by importing floor plans or creating them from scratch using SketchUp’s drawing tools. I prefer to work with real-life measurements and dimensions, as this helps me visualize the space more accurately.
- Space planning and furniture placement
Once you have the basic structure of the space in place, it’s time to start thinking about furniture placement and space planning. SketchUp makes this process incredibly easy, thanks to its intuitive drag-and-drop interface and vast library of 3D models.
I like to start by experimenting with different furniture layouts and configurations, based on the client’s needs and preferences. This allows me to see how the space will look and feel, and make adjustments as needed.
SketchUp’s “Components” feature is particularly useful for this step, as it allows you to quickly add and adjust furniture and other objects in the space. You can also create your own custom components, based on specific design requirements.
- Visualization and rendering
Once the space planning and furniture placement are finalized, it’s time to focus on visualization and rendering. SketchUp’s built-in visualization tools are impressive, but I prefer to use external rendering plugins like V-Ray or Lumion for more advanced rendering and lighting effects.
These plugins can take your 3D models to the next level, creating photorealistic images and animations that will impress your clients. However, they do require some additional learning and practice, so it’s important to choose the right plugin for your needs and skill level.
- Project management and collaboration
SketchUp is not just a design software, but also a powerful project management and collaboration tool. With its cloud-based storage and sharing features, you can easily collaborate with team members and clients, share designs and updates, and track progress and deadlines.
I find this feature particularly useful for larger projects with multiple stakeholders, as it helps me stay organized and on top of the project timeline. It also allows clients to give feedback and make changes in real-time, streamlining the design process and ensuring client satisfaction.
- Tips and tricks for using SketchUp
Here are some additional tips and tricks that have helped me improve my SketchUp workflow and create better designs:
- Use keyboard shortcuts to speed up your modeling process and reduce repetitive tasks.
- Group and organize your components for easier selection and management.
- Use layers to hide and show different elements of your model, reducing clutter and improving visualization
- Use the “Match Photo” feature to import real-life photos and match the perspective of your 3D model.
- Explore SketchUp’s vast library of plugins and extensions, which can add new features and tools to your workflow.
- Join online communities and forums to connect with other SketchUp users and learn from their experiences and tips.
By following these best practices and exploring the full potential of SketchUp, you can create stunning interior designs that are both functional and beautiful. Whether you’re working on a residential or commercial project, SketchUp can help you bring your vision to life and impress your clients.
Conclusion
In conclusion, SketchUp is an essential tool for interior designers looking to streamline their workflow and create stunning 3D designs. By following the best practices outlined in this blog post, you can improve your skills and create designs that are both functional and beautiful. Whether you’re a beginner or a seasoned pro, SketchUp is a must-have tool in your design software arsenal.


