


In this blog, I will show you step by step how to cut a section in Sketchup and send it to Autocad.
This was a question asked on “The Complete Sketchup & Vray Course for Interior Design” course by one of our students.

It’s a fairly simple process to create a section in sketchup.
Step 1: Create a Section Plane on your Building or Room
Use the section tool and add a section plane on top of your building or the front. This will enable you to create a plan or elevation of your building. It will look like the below.

Step 2: Switch on Parallel Projection. And then Right Click on the Section Plane and Click on Align View
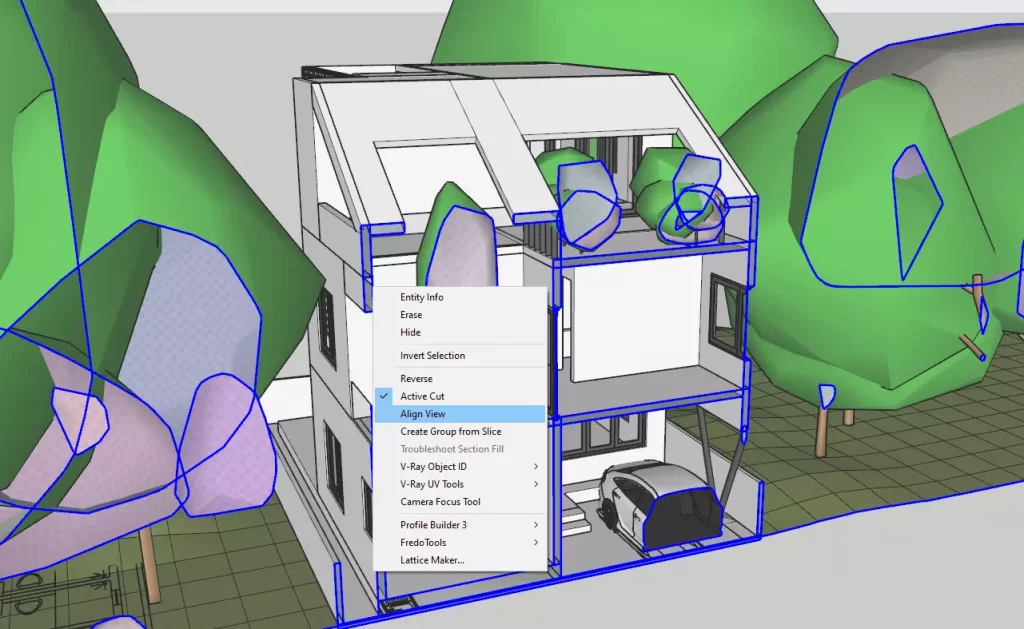
An alternative way to align views to the section plane is by going to Camera > Standard Views > Front, Back, Left or Right
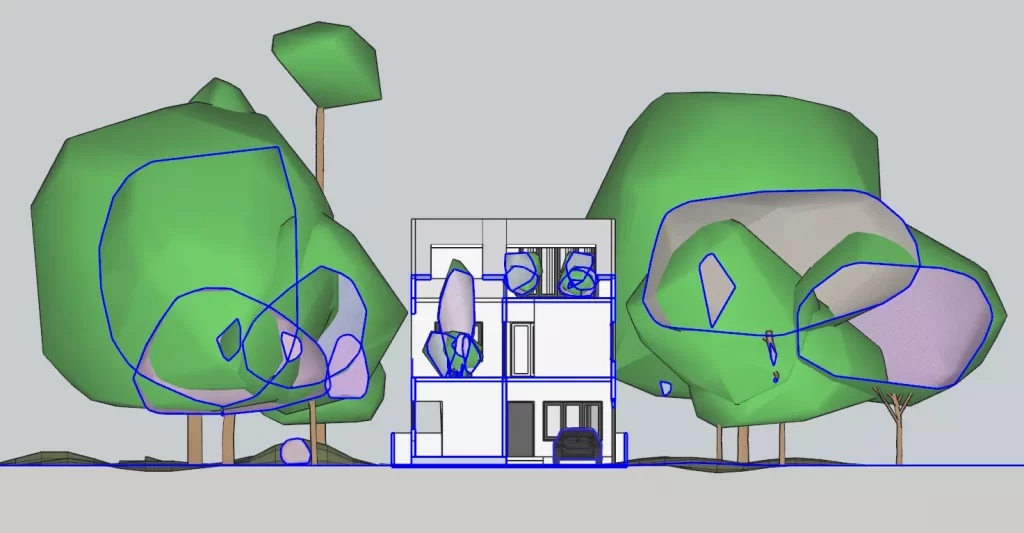
Step 3: Hide any Furniture and Trees (any unnecessary objects).
We’re exporting these drawings for CAD. And the less objects you export, the faster the process is and it is easier to load into any CAD software.

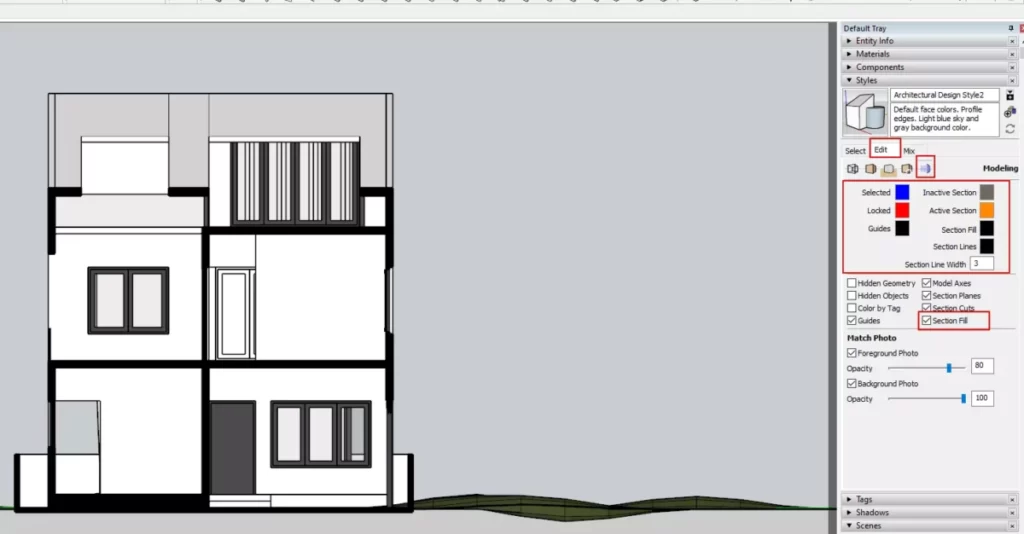
Step 4: Adjust the Styles and Create Scenes
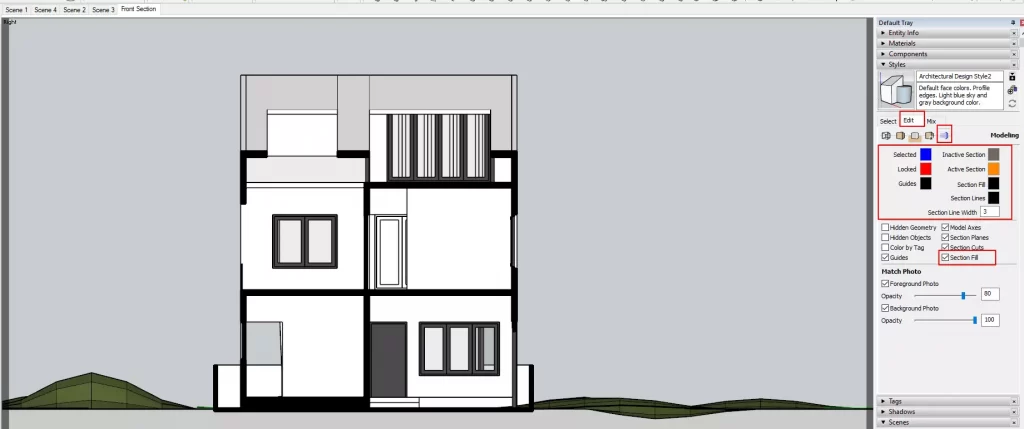
Adjust the Styles and make sure Section Fill is turned on.
I have used a Black fill color for the section fill. You can go ahead and use any other color.
Bonus Tip: When exporting your views to Layout for Sketchup, it’s a good idea to give a grey section fill, and also reduce the section line width to 1. This helps when you want to highlight certain parts of your model in Layout as a drawing.
Lastly, don’t forget to create a scene of your new Section and also update your scene whenever you make any changes.
Step 5: Export Your Scene as a AutoCAD Drawing
Go to File > Export > 2D Graphic

It is important that you click on the Scene first and then export your drawing.
Some students orbit around their model and end up exporting a messed up autocad drawing. So always click on the scene first, make sure you’re in the right perfect elevation and then export your drawing.
Common Student Errors
Some students face these common issues whilst exporting their drawings from Sketchup
- Sketchup Exports multiple Lines in the DWG file.
The main reason behind this problem is that they do not switch on parallel projection and they do not align views. Once you align the view, Sketchup will know that it needs to export only what is seen. And no additional lines are exported. - The File takes Forever to Export
My rule of thumb is to always hide and export. It’s also a good idea to export each building component separately. So I would export out the walls separately, the windows separately and so on. I finally stitch them together in CAD by moving them to a reference point. In this case it’s a good idea to make a box as a reference and then export out each component.
I hope this blog helps. If you’d like to learn how to import CAD drawings to Sketchup, check out our video on youtube on how to import a CAD drawing into Sketchup.
I will be making a video on how to export CAD drawings from Sketchup as well very soon.
See you at the next one!


One Response
Hello
I am a sketchup 8 user and I wonder if there is any way I can do this with my sketchup version. Perhaps a suitable plugin?
Thanks