


In this short tutorial, we will learn how to create curtains in Sketchup using the Bezier Spline Plugin & the Vertex Tools Plugins
So let’s dive right into it !
Create Curtains in Sketchup using Bezier Spline and Vertex Tools Plugins
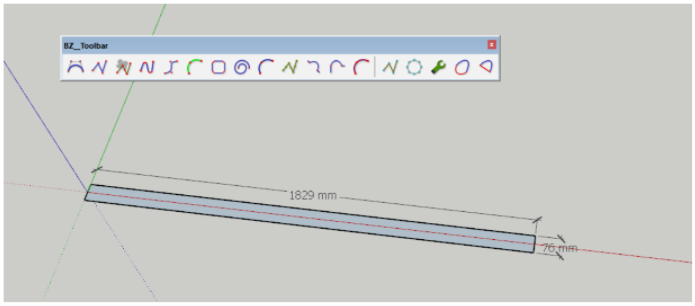
1. Create A Reference Rectangle
Make a reference size of your curtain (6’0” inlength and a depth of about 3”)
2. Divide the Top and Bottom Edges
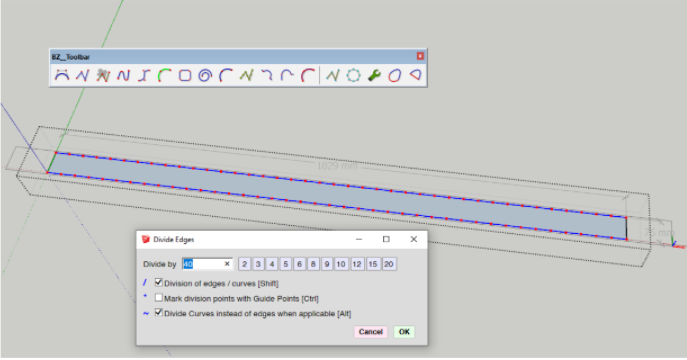
You can either divide the reference box by using the Fredotools plugin or you can divide it using the Sketchup tools.
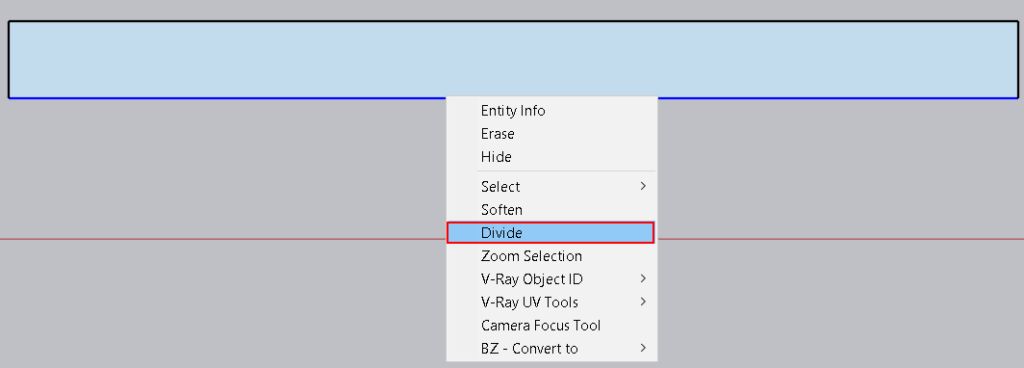
If your using the Sketchup tools make sure to select the individual line and not the group as a whole > Right click and select divide.
Notice once you have selected the divide option, the bottom right measurement display bar will have changed to ‘segments’. You can enter the desired number of segments. ( In this case we will use 40)
3. Create a Curtain Using CatMull Spline Tool
Create a curtain profile with help of the Catmull Spline tool using the divided edges as reference points.
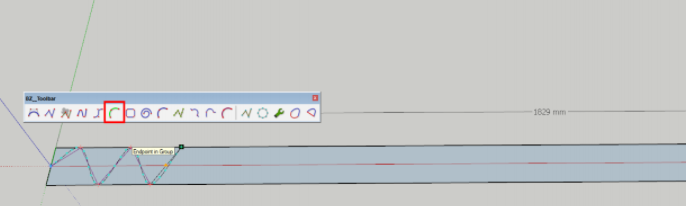
After clicking on all points, Right Click and click on done.
You will be left with a spline curve
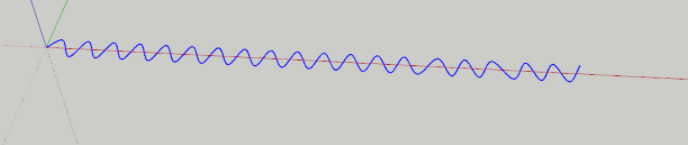
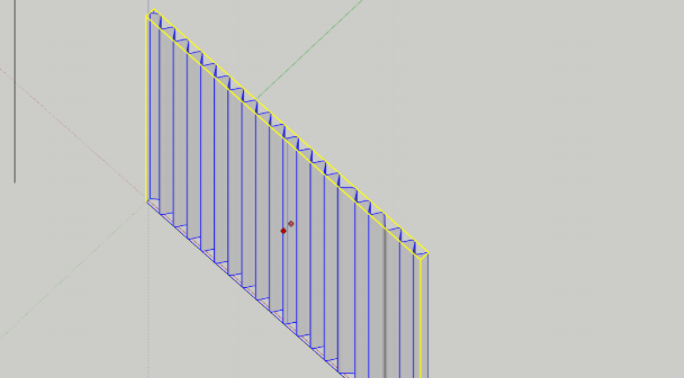
4. Use Vertex Tools
Select the Spline & Activate Vertex Tools
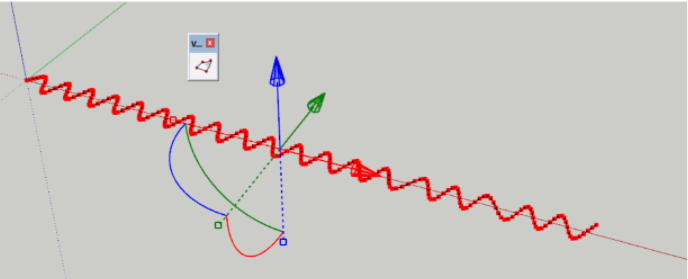
5. Hold Control and use the Blue dongle to move it up.
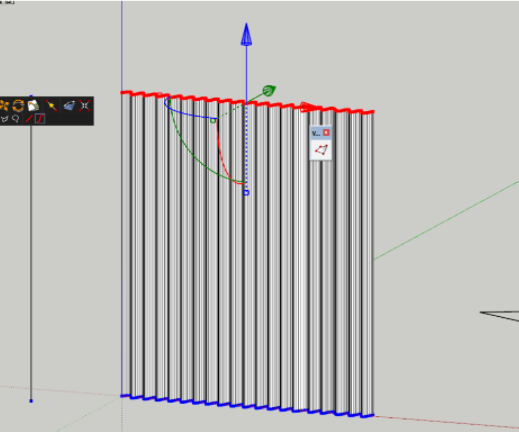
Give it approximately close to a height of 7’0”
6. Hold “Ctrl” and use the Eraser tool to delete the vertical lines. (This will make it smooth)
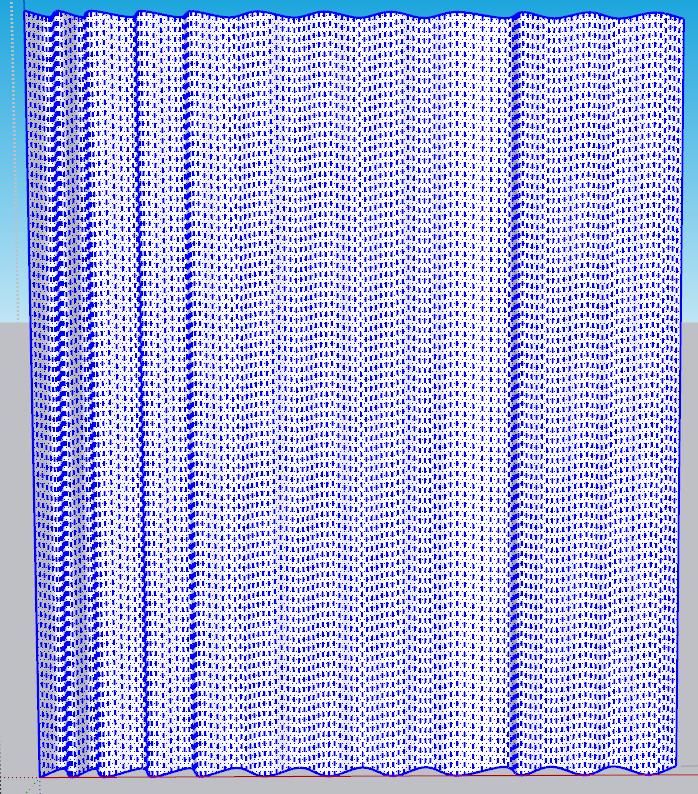
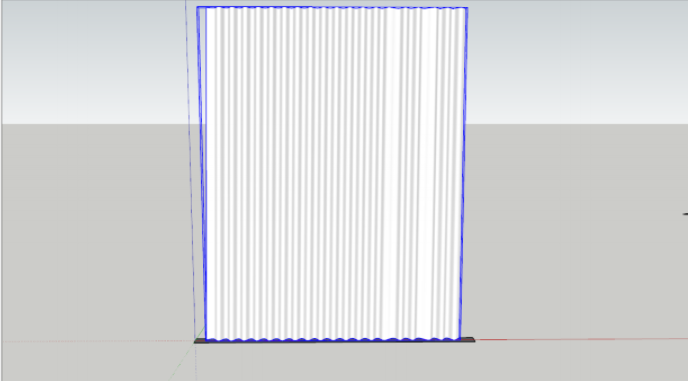
7. Scaling your Curtain
Make the curtain a group and scale it in as per your discretion.
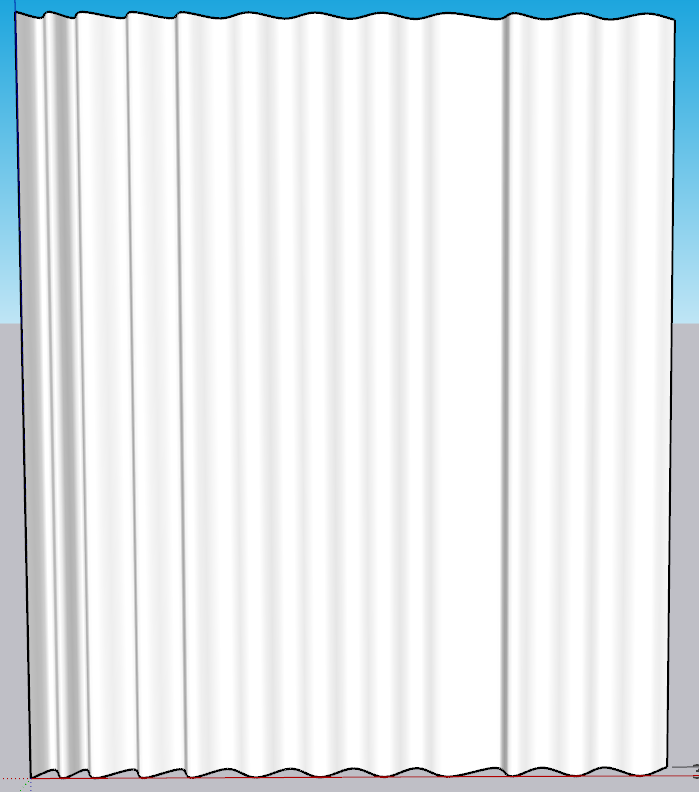
This is your final curtain
B. Applying Materials to Curtains in Sketchup
B1. Select a Fabric Material & apply it to curtain using the Bucket Tool
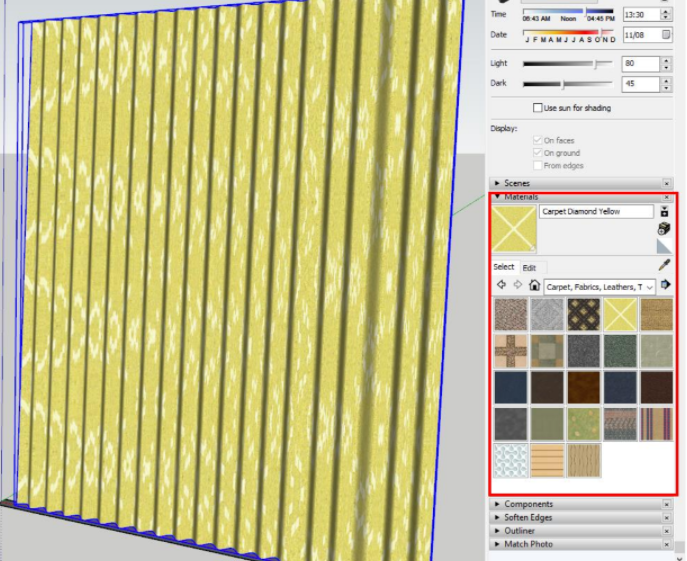
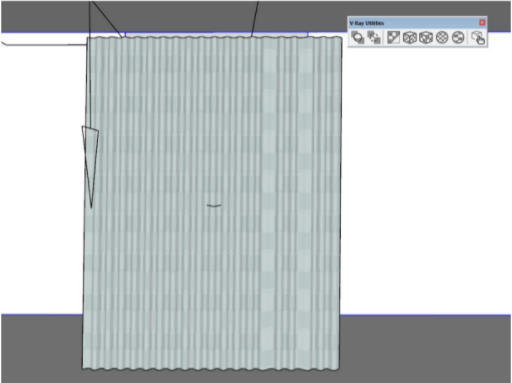
B2. Adjust Fabric Material
The texture hasn’t applied equally across the material. To adjust this we need to select the material and click on Tri-Planar Projection (World) from your V-ray Utilities Toolbar

B3. Now to make the Curtain Realistic using Vray. Unhide all your studio lights & Studio and run the interactive render. (Come back to this step after you’re done going through the Vray Section of this course)
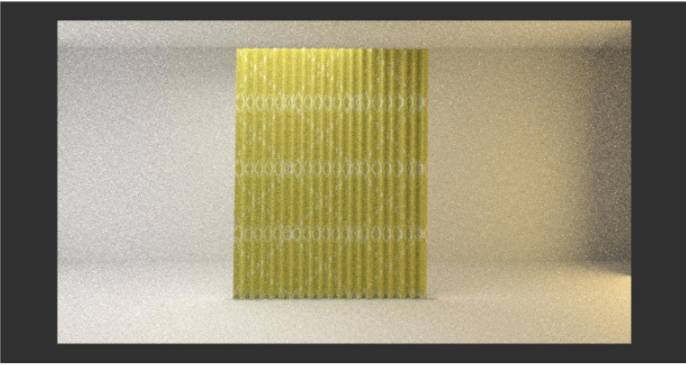
This is the Default V-ray Material
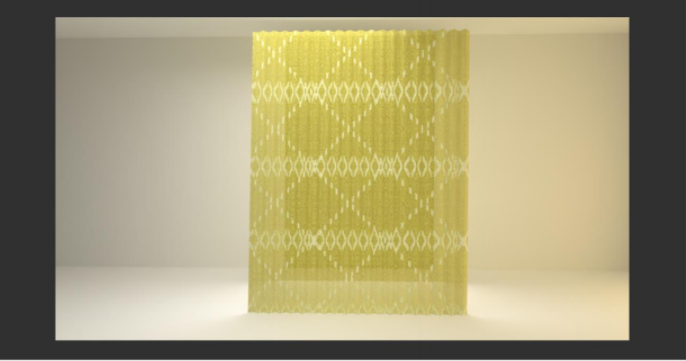
This is with the Two-Sided Material applied
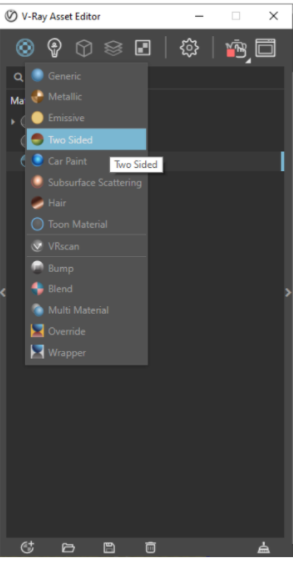
C. How To Create a Two-Sided Curtain Material
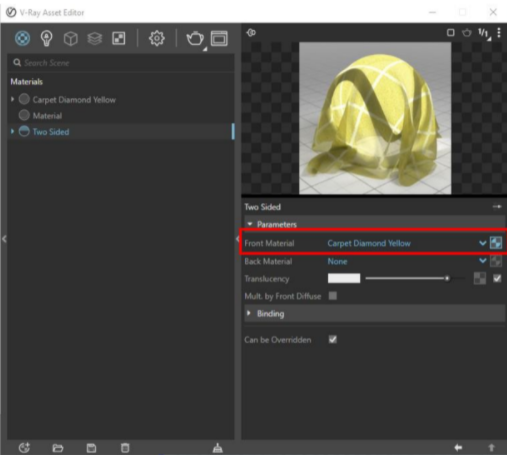
C2. Change the Front Material to Carpet Diamond Yellow
C3. Change the Carpet Diamond Yellow Material Settings as below
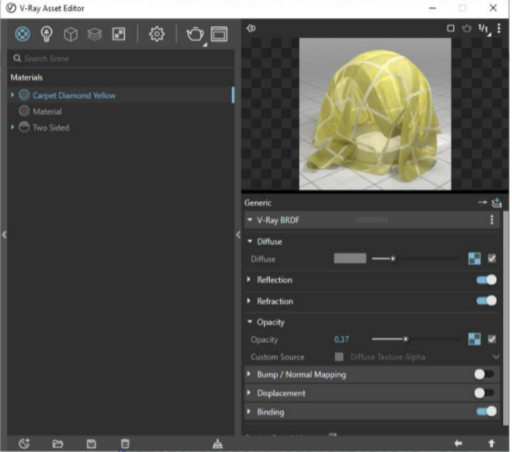
- Copy the Bitmap from Diffuse and paste it on the Opacity Map.
- Switch off Diffuse Texture Alpha
- Now Right Click on the Texture Slot on Opacity and add a Corrections Control
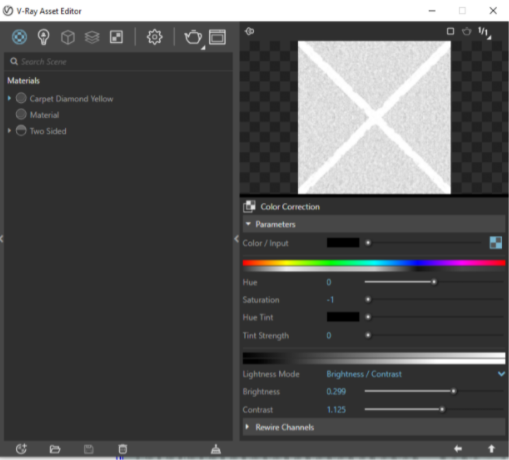
Reduce the Saturation to -1 and adjust the brightness and contrast accordingly. Whatever is white will be see through or translucent compared to black.
8. Use the Paint Bucket Tool and apply the Two Sided Material to the Curtain.
Make sure to click on Tri-Planar projection world again and you’re done.
You’ve come to the end of this blog. We hope you found it informative and helpful. If you would like access to more such content head on over to our interior course on Gumroad.
Check out our other blogs on


