


In this blog, I’ll show you how to create a Custom Vray Material Library in Sketchup from scratch. This will enable you to organise your materials better and also use the library for all your future projects.
1. Open your Vray Asset Editor

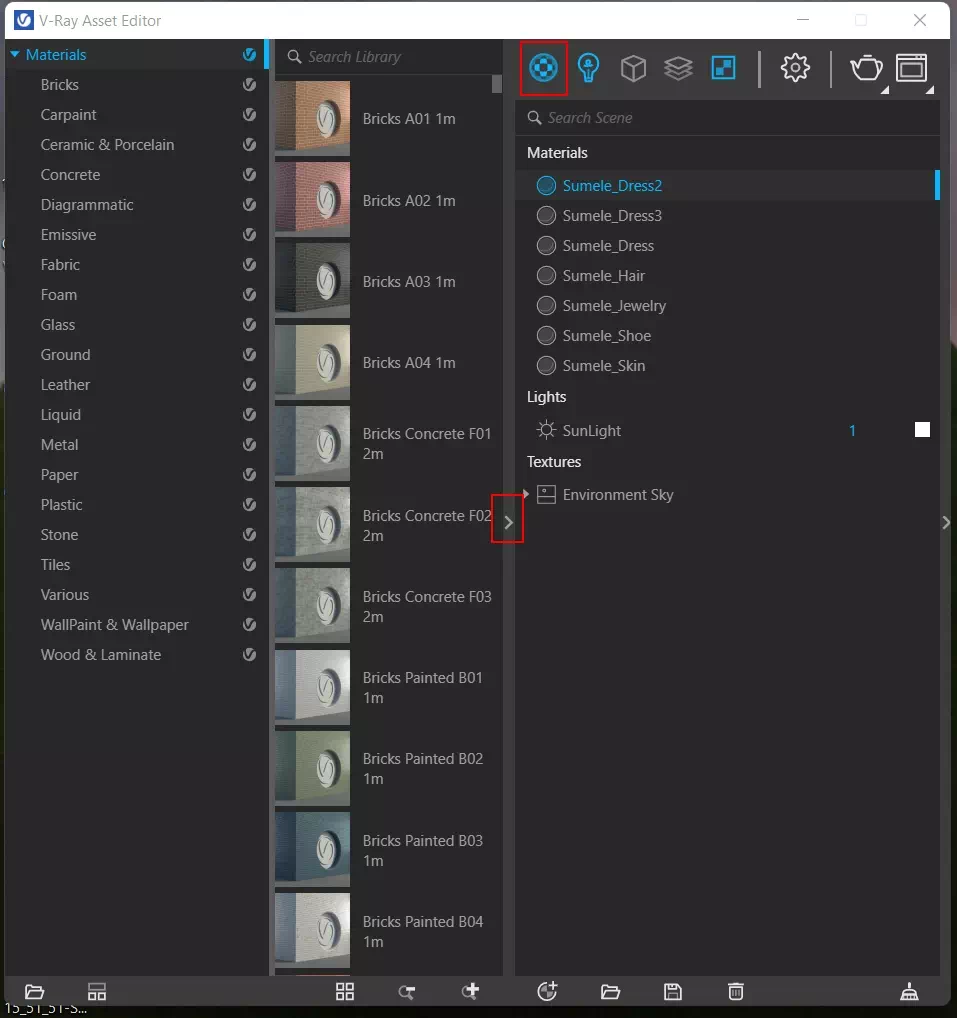
You will need an active connection to see the default Vray Library that comes shipped with Vray.
2. Click on the Open Folder Button on the Bottom Left
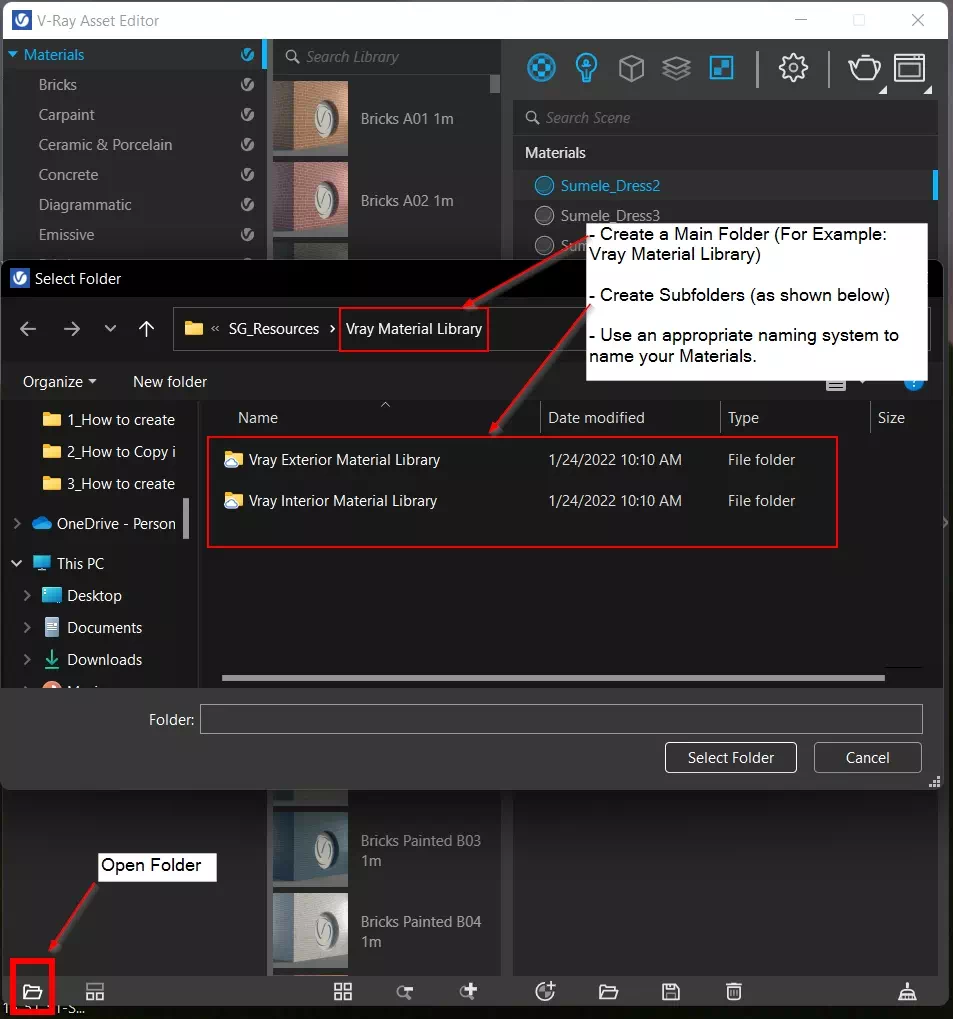
You will need to create a folder structure and create subfolders so that your Library looks more organised. (it can be located in any directory path)
Here’s how I’ve categorised my Folders
- Vray Material Library
- Vray Exterior Material Library
- Background
- Bricks
- Roads
- Sidewals
- etc
- Vray Interior Material Library
- Acrylic
- CNC
- Countertops
- Curtains
- Emissive Materials
- Fabric
- etc.
- Vray Exterior Material Library
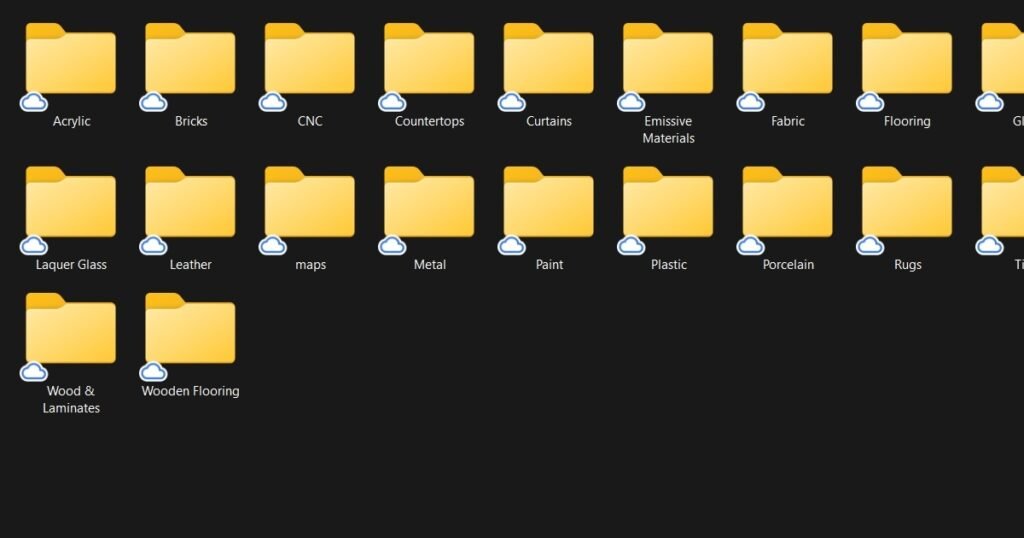
And this is how the subfolders look
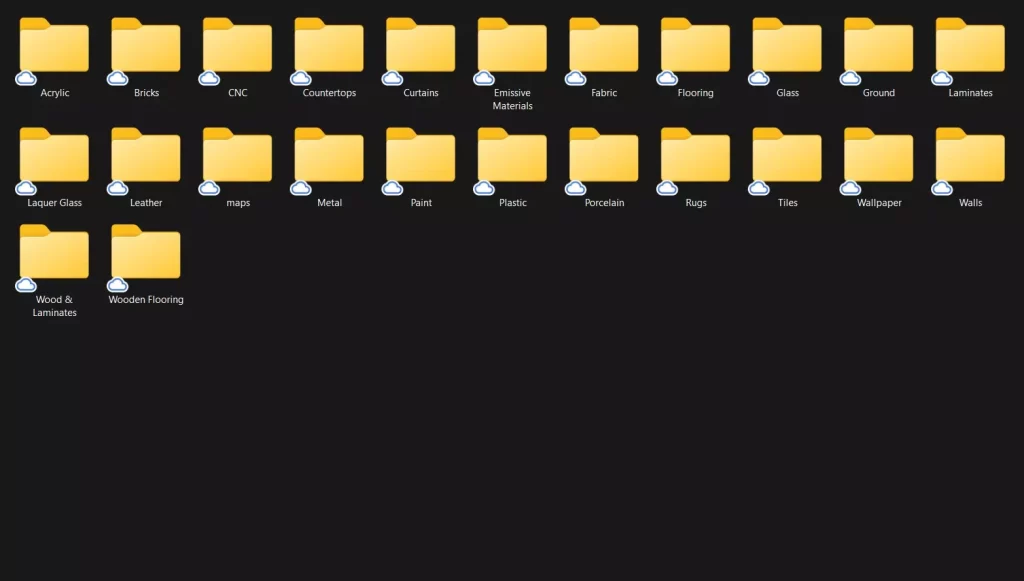
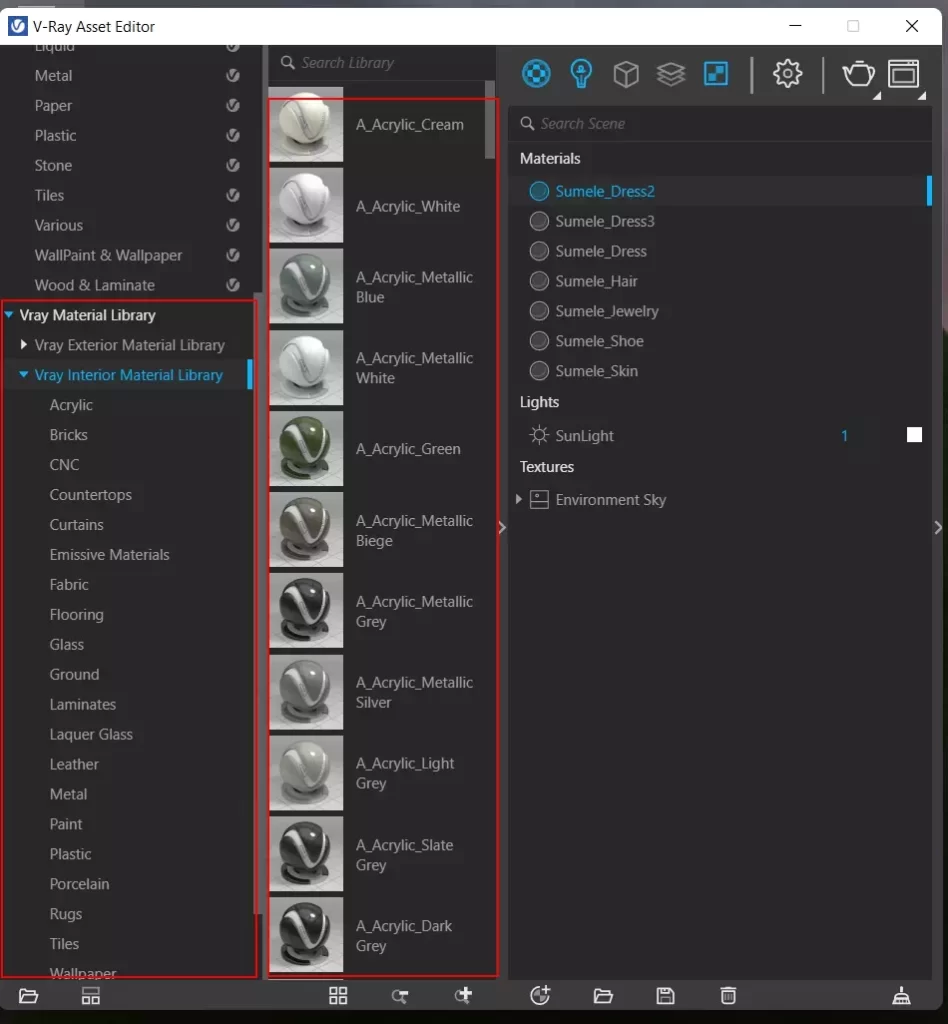
And once you open the folder, it will load it in to Vray as per your folder structure as shown below
If you’d like access to my Vray Material Library which I update on a weekly basis, click here.
3. How to add & remove Materials from your Library
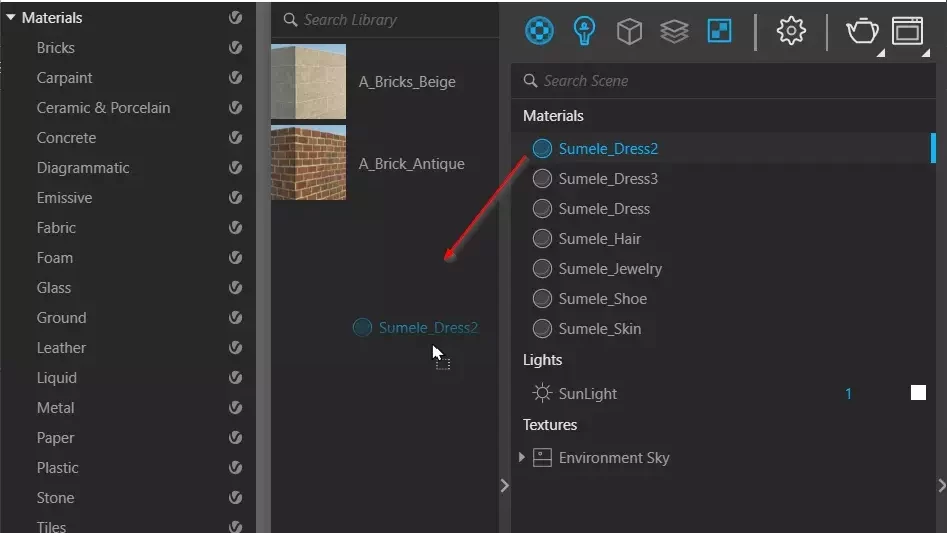
Once you’ve opened your Material folder, it is important to start adding materials to the subfolders.
You can do so by simply dragging the materials from your ‘Materials’ list on the Asset editor to your Library
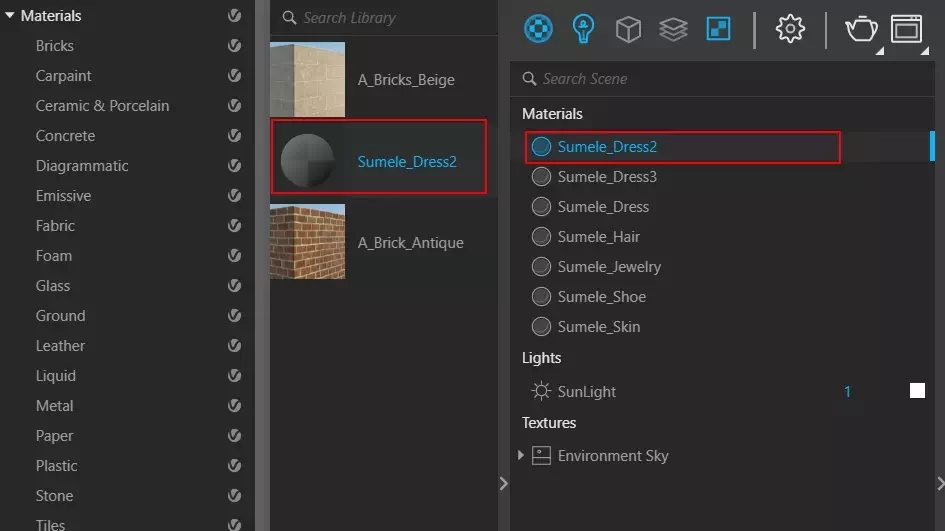
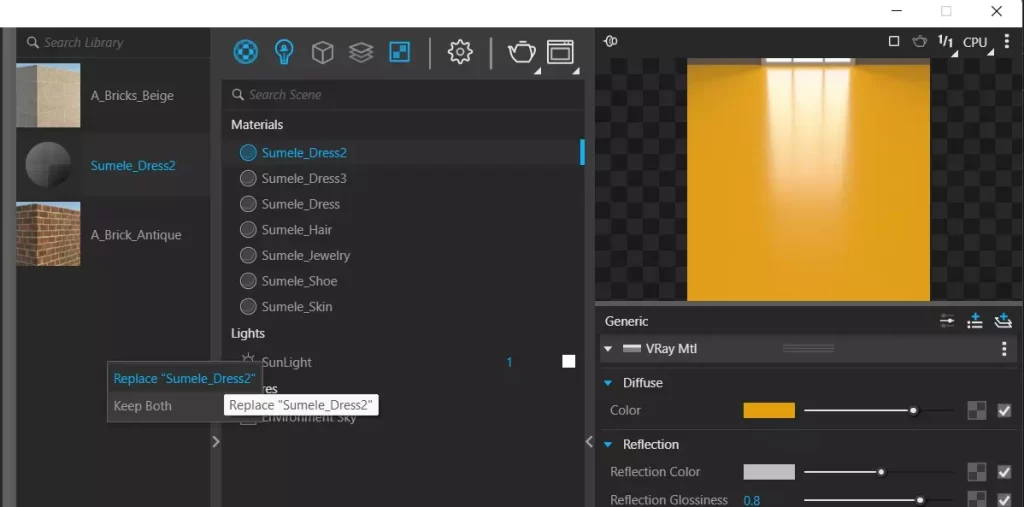
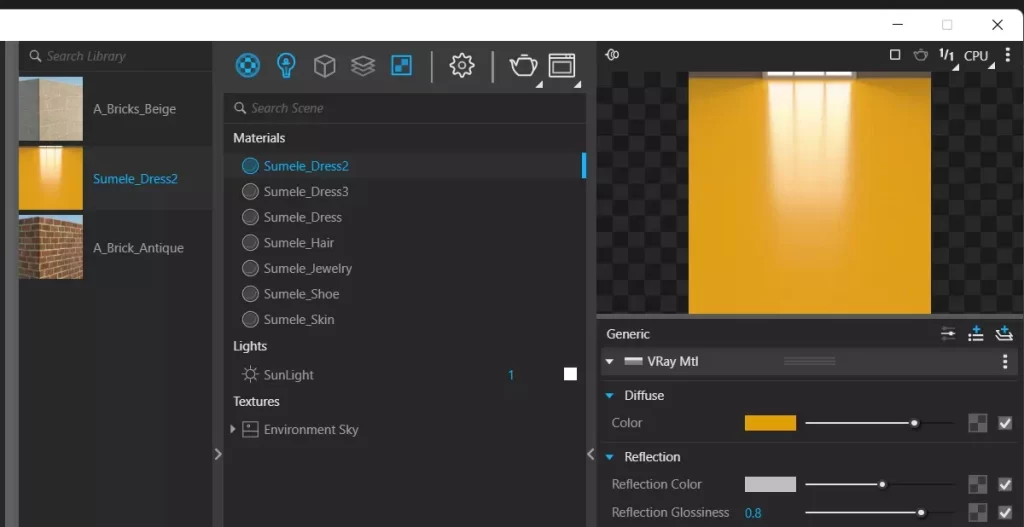
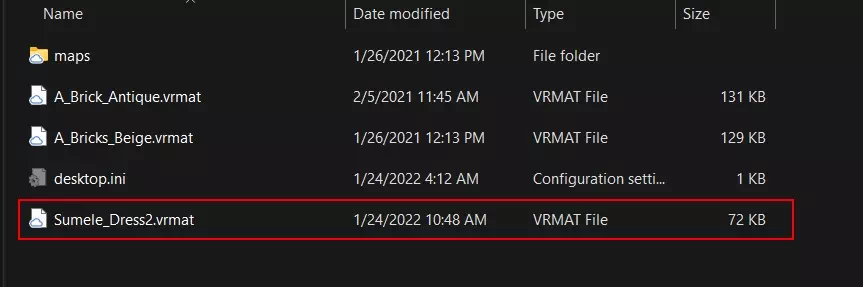
And these materials will populate in your folder as a .vrmat file
If you would like to learn how to create photorealistic renders, do check out our premium Sketchup & Vray Course for Interior Design


