


In this blog, we’re going to help you create a sphere. This is by far the easiest way to create one, we’ll be taking you through a step-by-step process, so do read on and create your own!
Step 1

Press ‘C’ on the keyboard or head to ‘The Getting Started ToolBar’ and go to Shapes > Circle. Mention the number of sides by typing 36 on your keyboard, it gets entered on the bottom right box on the screen.
Step 2
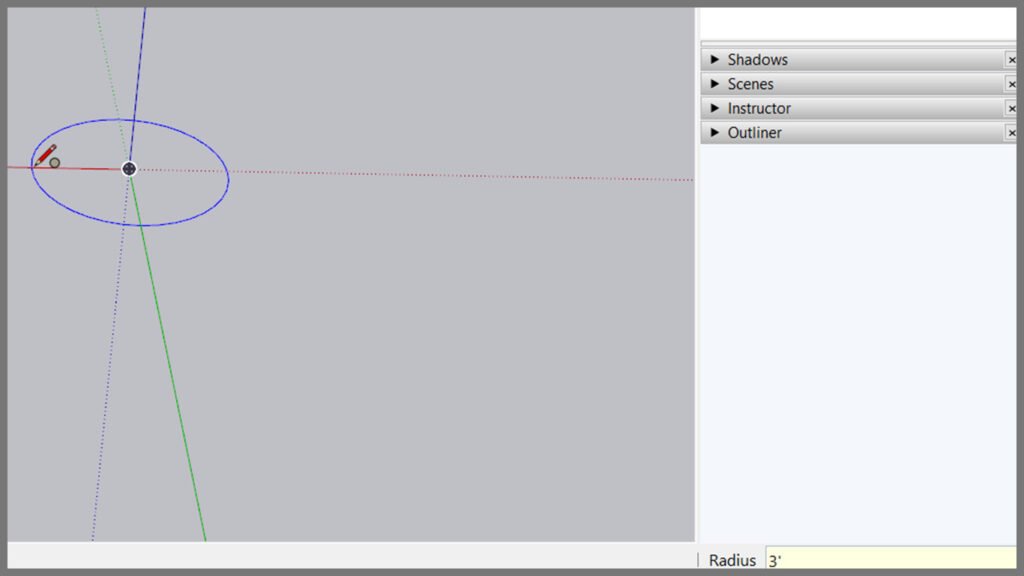
Start your circle at the origin point, enter the measurement and click on the edge of either the green axis or red axis.
Step 3
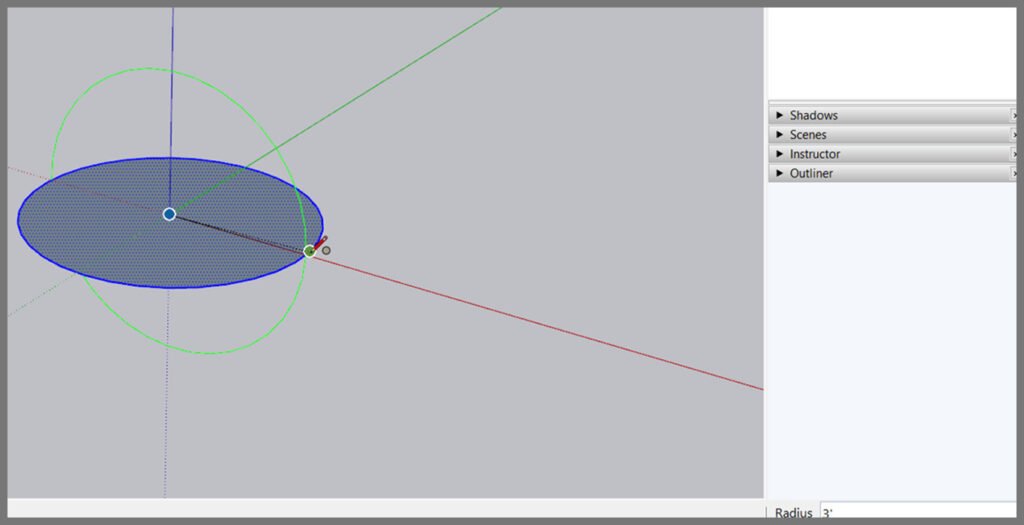
With the circle tool still selected , move your cursor to the center of the circle and click on the left arrow key to lock to the green axis and then drag to the edge of circle 1 or enter 3′ on your keyboard.
Step 4

Click the Select Tool and click the first circle.
Step 5
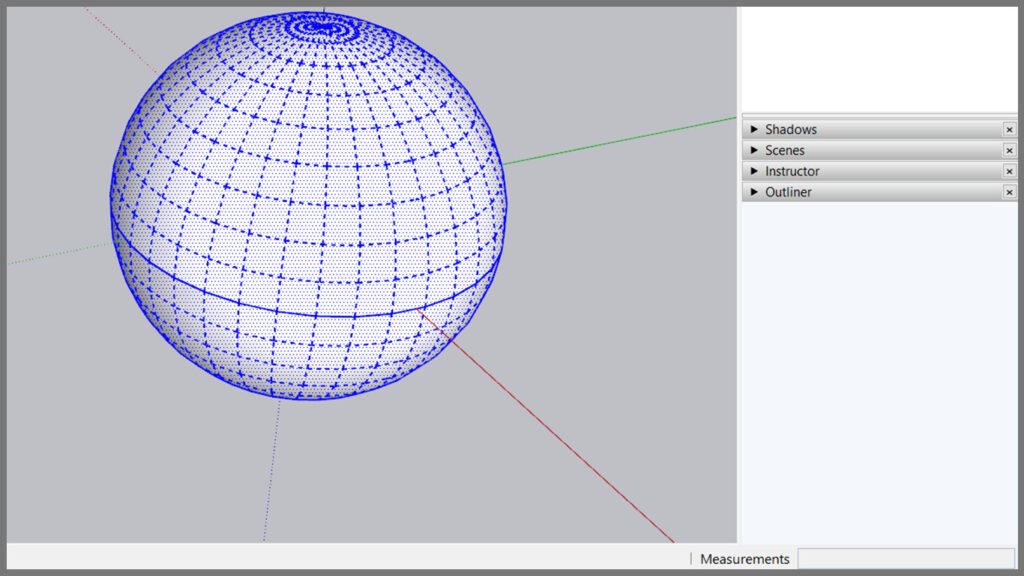
Select the Follow Me Tool, and then select the face of the second circle. It results in a Sphere.
Step 6
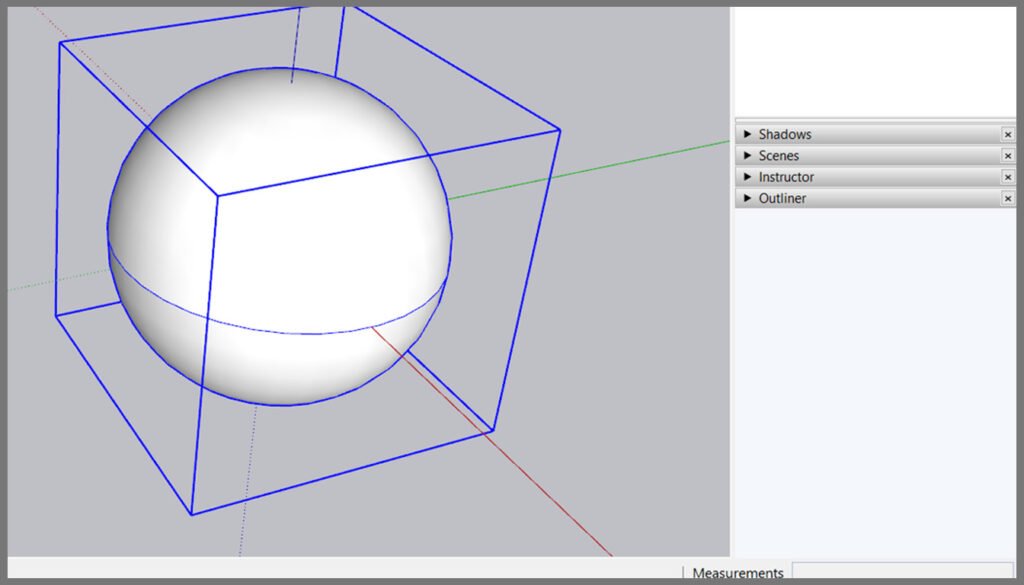
Triple-click on the sphere and press G on your keyboard to make it a group.
Conclusion
Well, there you have it! A basic sphere created in a jiffy! There are plugins that you can download which would make the process much faster and easier too.
If you would like a detailed explanation of the plugins and more ,please do check out our courses.sketchupguru.com
Also, click on the image below to gain free access to our resource kit pdf


