The Complete Guide: D5 Render Installation
If you’re a 3D artist, architect, or designer looking for a powerful and user-friendly rendering solution, D5 Render is an excellent choice. It’s a real-time ray tracing engine that can turn your 3D models into stunning visualizations quickly and easily. In this guide, we will walk you through the installation process of D5 Render, ensuring that you get up and running smoothly.

Why Choose D5 Render?
Before we dive into the installation process, let’s briefly discuss why D5 Render has gained popularity among professionals in various fields:
- Real-Time Rendering:
D5 Render offers real-time ray tracing, which means you can see the changes you make to your scene instantly, making the design process more efficient. - User-Friendly Interface:
The user interface of D5 Render is intuitive and easy to navigate, even for beginners. You don’t need to be a technical expert to start using it. - Impressive Visuals:
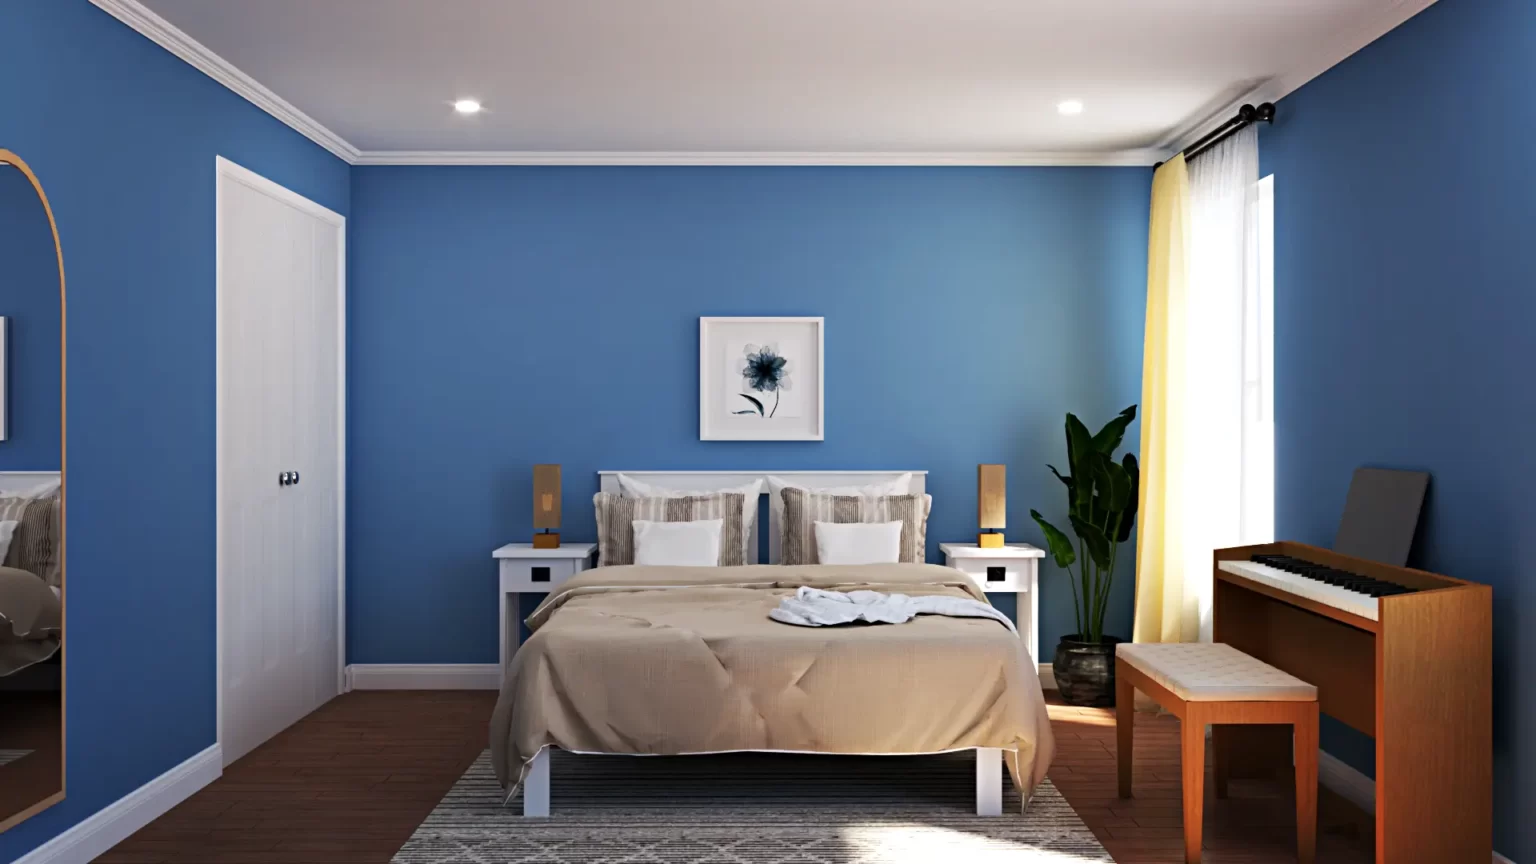
D5 Render produces stunning, photorealistic visuals that can bring your designs to life, making it an excellent choice for presentations and client meetings. - Compatibility:
It works seamlessly with popular 3D modeling software like SketchUp, Rhino, and 3ds Max, allowing you to import your existing projects.
Now, let’s get started with the installation.
Step-by-Step Installation Guide
1. System Requirements
Before you begin, make sure your computer meets the minimum system requirements for D5 Render. These requirements may change over time, so it’s a good idea to check the official D5 Render website for the most up-to-date information. As of the last update, the minimum requirements include:
- Operating System: Windows 10 (64-bit)
- Processor: Intel Core i5 or equivalent
- Graphics Card: NVIDIA GTX 1060 or equivalent with DirectX 12 support
- RAM: 16 GB
- Storage: 10 GB of free space
2. Download D5 Render
To download D5 Render, visit the official D5 Render website (https://www.d5techs.com/). Look for the “Download” or “Get Started” button, and click on it. You may be prompted to create an account or log in if you haven’t already. Follow the on-screen instructions to complete the download.
3. Installation Process
Once the download is complete, locate the installation file (usually a .exe file) in your downloads folder or the location you specified. Double-click on the file to start the installation process.
Follow the installation wizard’s instructions, which typically involve choosing the installation directory, agreeing to the terms of service, and selecting any additional components you want to install (such as sample projects or libraries).
4. License Activation
After the installation is complete, launch D5 Render. You will be prompted to activate your license. If you have a valid license key, enter it in the provided field. If not, you can usually choose a trial version to explore D5 Render’s features.
5. Software Updates
It’s essential to keep D5 Render up-to-date to benefit from the latest features and improvements. Check for software updates regularly within the application or visit the official website for updates.
Getting Started with D5 Render
Now that you have successfully installed D5 Render, it’s time to start creating stunning visuals. Here are some initial steps to help you get started:
- Import Your 3D Models:
Use the “Import” or “Open” function to bring your 3D models into D5 Render. The software supports various file formats, so you can seamlessly import your existing projects. - Scene Setup:
Arrange your models in the scene, add lighting, and set up materials to create the desired ambiance. - Real-Time Rendering:
As you make changes to your scene, you’ll see them reflected in real time. This interactive workflow allows for quick adjustments and experimentation. - Camera Setup:
Define camera angles and views to capture the best perspectives of your design. - Rendering Options:
Explore the rendering settings to fine-tune the visual quality and output. D5 Render offers a range of options to achieve your desired results. - Export and Presentation:
Once you’re satisfied with your scene, export high-quality images or videos for presentations, client meetings, or portfolio showcases.
Conclusion
D5 Render is a powerful tool for 3D artists and designers, and installing it is the first step towards creating stunning visualizations. With its real-time rendering capabilities and user-friendly interface, you can bring your creative visions to life efficiently.
Remember to regularly check for software updates to stay current with the latest features and enhancements. As you become more familiar with D5 Render, you’ll unlock its full potential for creating captivating 3D visuals.
So, don’t wait any longer. Install D5 Render, start exploring its features, and elevate your 3D rendering projects to a whole new level of quality and realism. Happy rendering!


