A Comprehensive Guide to Archviz Workflow from Concept to Creation
Architectural visualization, commonly known as archviz, is a powerful tool used by architects, designers, and developers to communicate design concepts, explore spatial relationships, and visualize projects before they are built. In this comprehensive guide, we’ll delve deep into the world of architectural visualization, exploring the tools, techniques, and best practices that drive the creation of stunning visualizations. From 3D modeling to rendering and post-processing, each step of the archviz process will be dissected and explained in detail.
Understanding Archviz Software:
Archviz software forms the backbone of the visualization process, providing designers with the tools they need to create lifelike renderings and immersive experiences. Let’s take a closer look at some of the most popular archviz software on the market:
- Autodesk 3ds Max: Widely regarded as one of the industry standards for architectural visualization, 3ds Max offers powerful 3D modeling and rendering capabilities, along with a vast array of plugins and extensions for added functionality.
- Blender: An open-source 3D creation suite, Blender is a versatile tool that caters to both beginners and professionals alike. With its intuitive interface and robust feature set, Blender is a popular choice for archviz projects of all scales.
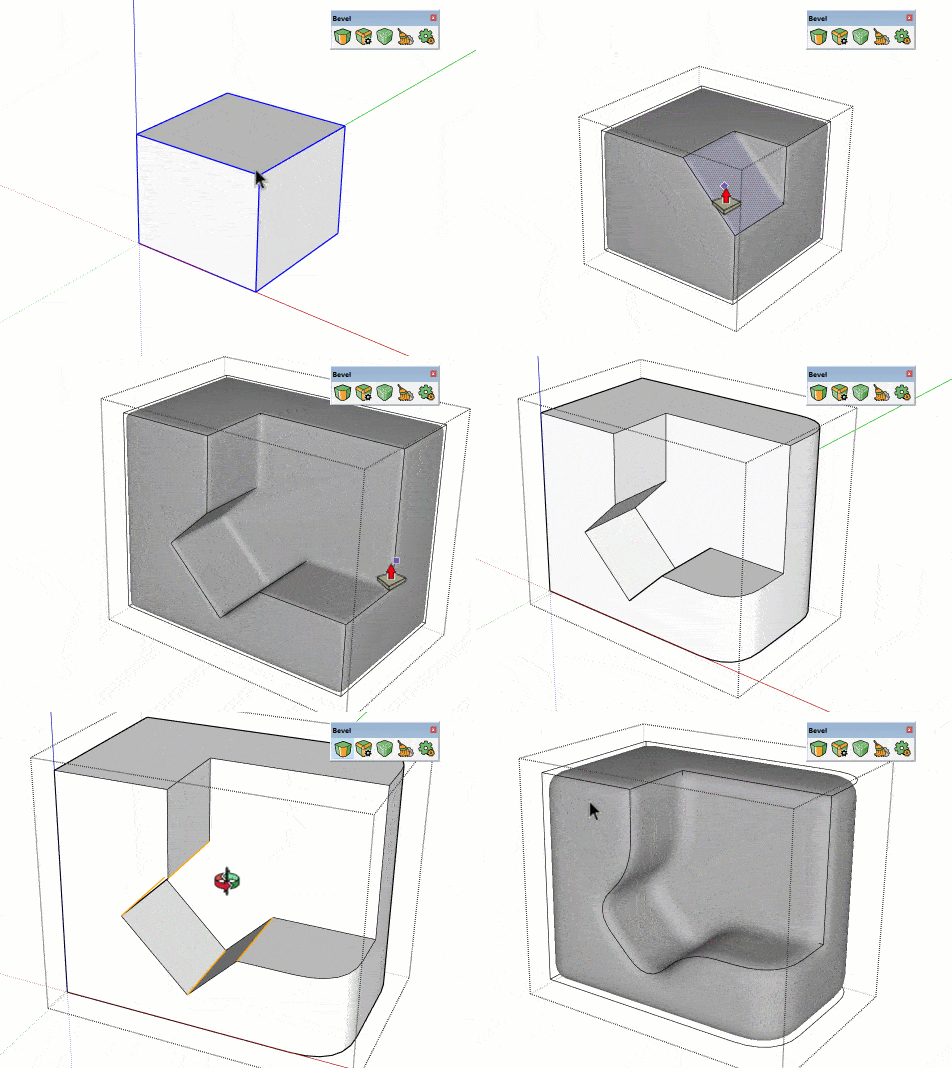
- SketchUp: Known for its ease of use and flexibility, SketchUp is a favorite among architects and designers for creating quick concept models and architectural visualizations. Its intuitive interface and extensive library of 3D models make it an ideal choice for rapid prototyping and visualization.
- V-Ray: As one of the leading rendering engines in the industry, V-Ray is renowned for its unparalleled realism and speed. Compatible with a wide range of 3D software, including 3ds Max, Blender, and SketchUp, V-Ray empowers designers to create stunning visualizations with ease.
The Archviz Workflow:
1. Conceptualization and Ideation:
- Brainstorming: Collaborate with clients and stakeholders to generate ideas and explore design possibilities.
- Mood Boards: Create visual mood boards to establish the overall aesthetic direction and define key design elements.
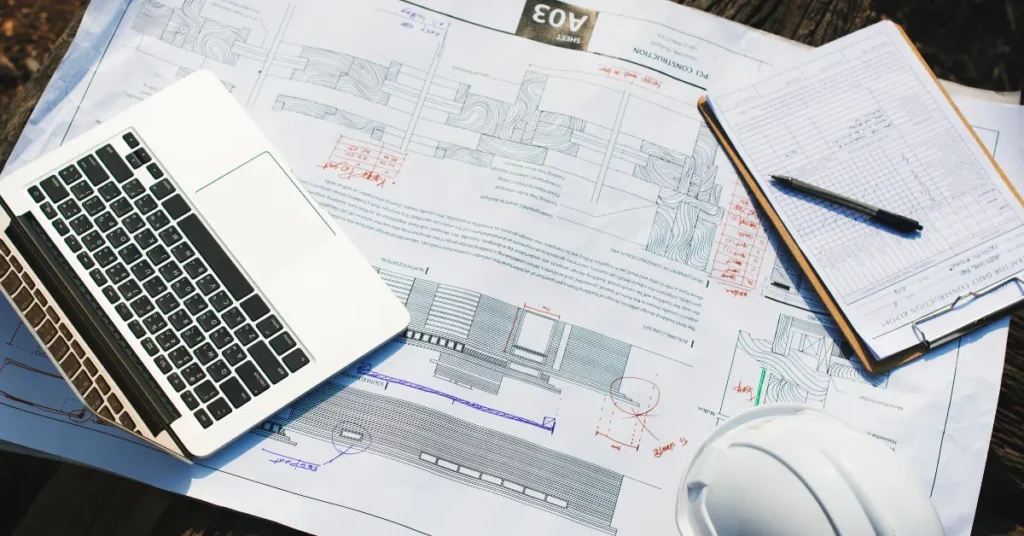
- Concept Sketches: Develop initial concept sketches to communicate ideas and visualize design concepts.
2. 3D Modeling and Scene Setup:
- Blockout: Create basic 3D models to establish spatial relationships and layout.
- Detailing: Refine 3D models by adding architectural details, furniture, and fixtures.
- Scene Setup: Arrange 3D models within the virtual environment and set up camera angles and perspectives.
3. Texturing and Material Application:
- Texture Mapping: Apply surface textures to 3D models using UV mapping techniques.
- Material Creation: Create custom materials for different surfaces, such as wood, concrete, glass, and metal.
- Material Editing: Fine-tune material properties, including roughness, reflectivity, and bump mapping, to achieve realistic effects.
4. Lighting and Rendering:
- Lighting Setup: Experiment with different lighting setups, including natural light, artificial light, and ambient occlusion.
- Global Illumination: Utilize global illumination techniques to simulate the indirect bounce of light and create realistic lighting effects.
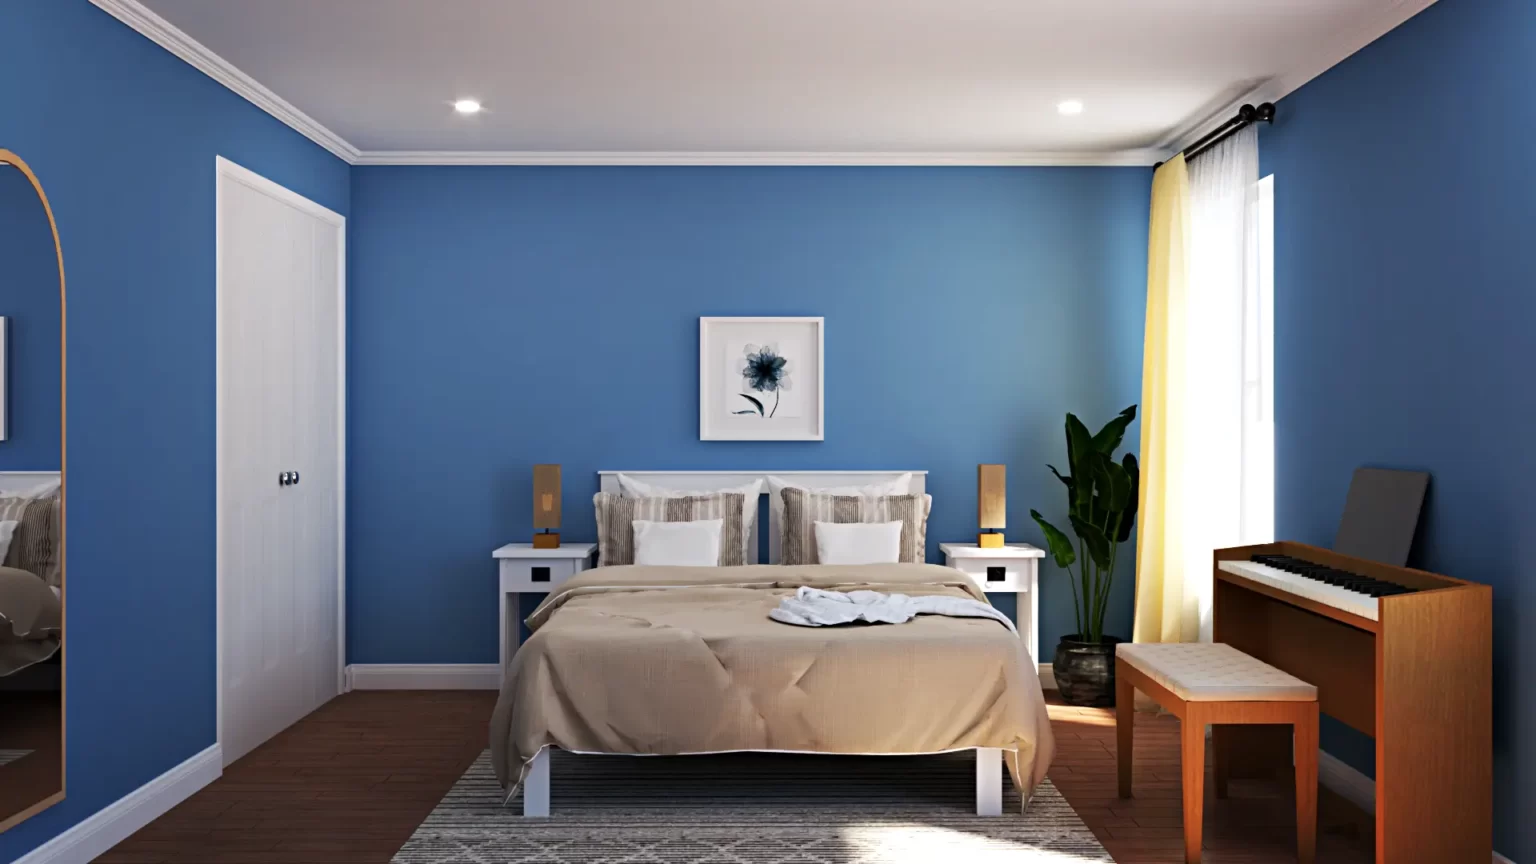
- Rendering: Render the scene using high-quality rendering engines, such as V-Ray or Corona Renderer, to produce photorealistic images and animations.
5. Post-Processing and Enhancement:
- Image Editing: Enhance renderings using image editing software, such as Adobe Photoshop or Affinity Photo, to adjust color balance, contrast, and saturation.
- Effects: Add additional effects, such as depth of field, lens flares, and atmospheric haze, to enhance realism and visual impact.
- Final Touches: Fine-tune the image to ensure that it accurately represents the design and evokes the desired emotional response.
Best Practices for Stunning Archviz:
- Attention to Detail: Pay close attention to scale, proportions, and spatial relationships to ensure accuracy and realism in the visualization.
- Realism: Strive for realism in lighting, materials, and environmental effects to create immersive and believable visualizations.
- Composition: Experiment with composition techniques, such as framing, leading lines, and rule of thirds, to create visually engaging renderings.
- Feedback: Seek feedback from clients, peers, and industry professionals to refine and improve the quality of the visualization.
- Continuous Learning: Stay updated on the latest trends, techniques, and software developments in the field of architectural visualization through online tutorials, courses, and workshops.
Conclusion:
Architectural visualization is a powerful tool that empowers designers to communicate ideas, explore design possibilities, and bring projects to life in stunning detail. By leveraging advanced software, techniques, and best practices, designers can create immersive visualizations that captivate audiences and drive the success of architectural projects. As technology continues to evolve and new tools emerge, the future of architectural visualization promises even greater levels of realism, interactivity, and immersion, opening up exciting possibilities for architects, designers, and visual artists alike.


