


Large Projects in SketchUp: Incorporating Sub-Projects in SketchUp Modeling
In the realm of architectural design and 3D modeling, efficiently managing large-scale projects is crucial for productivity and organization. SketchUp, a popular software tool for architectural modeling, provides powerful features that enable designers to tackle complex projects effectively. In this comprehensive guide, we’ll delve into the concept of breaking down large projects into manageable sub-projects or individual spaces, offering insights and strategies to optimize your SketchUp workflow for maximum efficiency and productivity.
The Importance of Breaking Down Large Projects
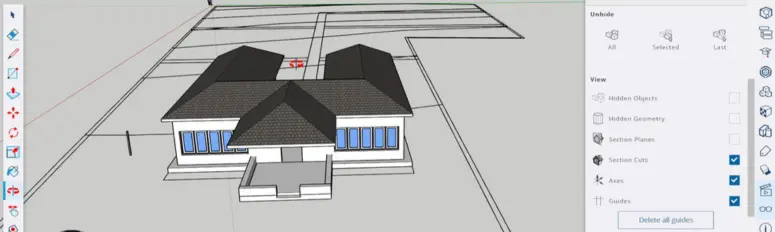
Large projects, such as apartment buildings or commercial complexes, often consist of numerous spaces, each with its unique design elements and requirements. Attempting to model the entire project in a single SketchUp file can lead to performance issues, file size limitations, and challenges in collaboration. By breaking down the project into smaller, more manageable components, designers can streamline the modeling process, improve performance, and enhance collaboration among team members.
Breaking Down a Project into Sub-Projects in SketchUp
- Plan Your Project Structure:
Before diving into modeling, it’s essential to plan how to divide the project into sub-projects or individual spaces. Each significant space within the building, such as bedrooms, kitchens, or living areas, can be treated as a separate SketchUp file. This division facilitates better organization, improves file management, and allows multiple team members to work on different parts of the project simultaneously. - Model Spaces as Separate Files:
Begin by creating each space as its own SketchUp file. This approach enables focused detailing and optimization of each area without the performance overhead of the entire project. Additionally, modeling spaces separately allows for easier navigation and manipulation of individual components. - Utilize Components for Common Elements:
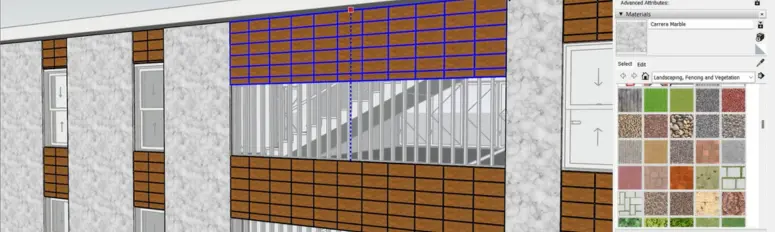
For elements that repeat across spaces, such as furniture or fixtures, model them as components. Components are reusable objects that can be easily duplicated and modified. By using components, designers can maintain consistency throughout the project and save time by importing pre-modeled elements into each sub-project file.
Integrating Sub-Projects into a Master SketchUp File
- Create a Master File:
Once individual spaces are modeled, create a master SketchUp file that serves as the central assembly point for the entire project. In the master file, assemble all the spaces together, positioning them as they would appear in the final project. - Import Spaces as Components:
Import each space into the master file as a unique component. This approach allows for easy updates; changes made to the original space file can be refreshed in the master file using the “Reload” option in the component options. By organizing the project in this manner, designers can maintain a structured workflow and simplify the process of making revisions or modifications.
Breaking Down an Already Modeled Project
If you’ve already modeled the entire project in one SketchUp file, you can still break it down into sub-projects using the following steps:
- Save Spaces as Separate Components:
Select the geometry of each space and save it as a component. Utilize the “Save As” option within the component creation dialog to save each space as an individual SketchUp file. - Organize and Reference in a Master File:
With all spaces saved as individual files, follow a similar process as above to create a master SketchUp file and import each space as a component. This approach allows for a structured project that’s easier to manage, navigate, and update.
Transitioning to LayOut
- Create LayOut Documents for Each Space:
With each space modeled as a separate file, create a LayOut document for each one. LayOut is a companion program to SketchUp that allows designers to create detailed, space-specific documentation, including annotations, dimensions, and style settings tailored to each area. - Assemble in a Master LayOut File:
For presenting the entire project, consider creating a master LayOut file where you can import views from each space-specific LayOut document. This approach facilitates the creation of a comprehensive project overview, including floor plans, elevations, and detailed views of individual spaces. - Utilize Auto-Text and Templates for Efficiency:
Take advantage of LayOut’s auto-text feature and templates to streamline the documentation process. Auto-text can automatically fill in project-specific information across all documents, while templates ensure a consistent look and feel throughout the presentation.
Conclusion
Breaking down a large SketchUp model into sub-projects or individual spaces, and then documenting these in LayOut, offers a flexible and efficient approach to managing complex projects. This method not only enhances performance and collaboration but also ensures detailed and organized presentations. Whether starting a new project or reorganizing an existing model, adopting a structured approach can significantly improve your SketchUp to LayOut workflow, leading to greater productivity and success in your architectural endeavors.


