


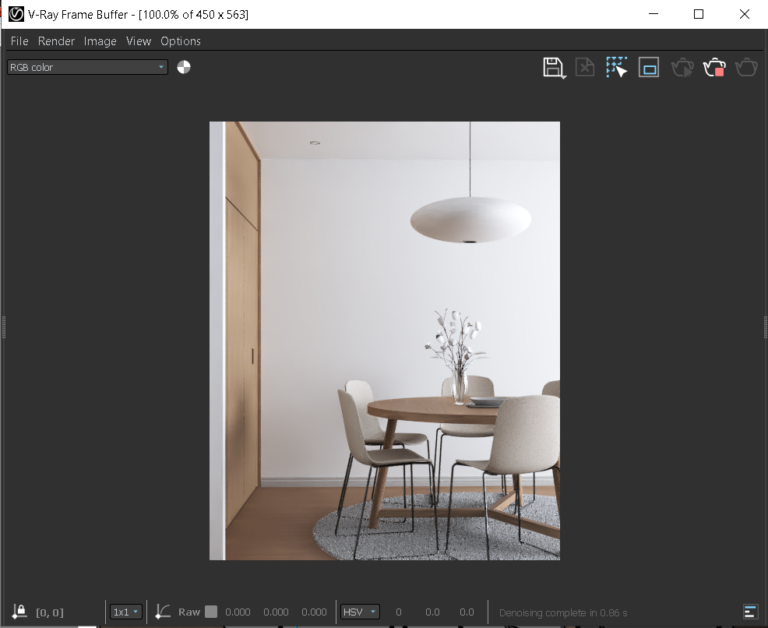
Vray Frame Buffer for SketchUp
The Vray Frame buffer gives you full control of your rendered output, allowing you to view your SketchUp model through a more realistic medium. The V-ray Frame Buffer contains a plethora of tools enabling you to review, analyze and post-process your model into a delectable final image.
The Vray Frame Buffer Menu consists of the main frame buffer commands
MENU
MENU OPTIONS
FILE
Save Current Channel – Saves the currently loaded channel to an image format
Save all image channels to separate files – Saves all the render elements to separate files.
Save all image channels to a single file – Saves the image to a multi-channel EXR or .vrimg file.
Load image – Opens an image file from disk to be previewed in the V-Ray Frame Buffer.
RENDER
Start interactive rendering – initiates an interactive render in the VFB viewport. This method of rendering helps you identify materials that require modification or change in your model.
Abort rendering – Stops the current rendering mode.
Render – Starts Production Rendering. This rendering method is used once all the materials in your scene have been adjusted and you are ready to create a final image
IMAGE
Follow mouse – Drag the mouse over the VFB while rendering to select the part of the image which you would like to render first
Follow mouse (locked) – Locks the bucket (or sampling) to a certain point. This decides where the image starts a render from
Copy current channel to clipboard – Copies the current channel to the clipboard.
Clear image – Clears the contents of the frame buffer. This is useful when starting a new render to prevent confusion with the previous image.
VIEW
Display color space –Specifies the color space, in which the image is displayed.
None – Does not specify a color space;
sRGB – Displays the image in sRGB color space;
OCIO – Displays the image in a color space loaded from an OCIO configuration file;
ICC – Displays the image in a color space loaded from an ICC configuration file;
Gamma 2.2 – Displays the image in Gamma 2.2 color space.
Zoom VFB – Zooms in/out the rendered image in the VFB.
Zoom 50% – Zooms out to 50%;
Zoom 100% – Zooms to 100%. Alternatively, double-click in the VFB with the left mouse button;
Zoom 150% – Zooms in to 150%.
Zoom to fit – Zooms in or out so to position the image properly within the V-Ray Frame Buffer.
Channels – Chooses which channels to display.
View red channel – Displays the red channel;
View green channel – Displays the green channel;
View blue channel – Displays the blue channel;
Switch to alpha channel – Displays the alpha channel;
Monochromatic mode –Displays the image in monochromatic mode
Color clamping – Opens the color clamping submenu options:
Force color clamping – Forces color clamping;
View clamped colors – Displays the clamped colors.
Use pixel aspect – Enables visualization of the pixel aspect ratio.
Stereo – Enables stereoscopic preview. You can view the image in stereo in red/cyan or green/magenta.
OPTIONS
VFB settings – Opens the VFB Settings window where you can adjust settings for Render View, Render Region, History, and Layers.
V-RAY FRAME BUFFER TOOLBAR
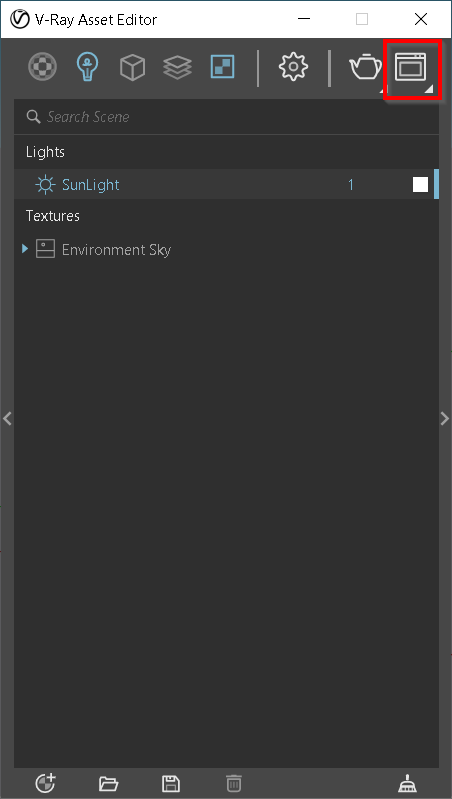
This dropdown gives access to render elements rendered for the scene. The selected render element is displayed in the VFB. By default, the RGB color and Alpha render elements are available.
Any additional render elements that have been added to the scene also appear in the drop-down.


Saves the image to disk. Press and hold the icon to bring up the submenu: Save current channel – Saves the current channel to an image file format; |
Clears the contents of the frame buffer. This is useful when starting a new render to prevent confusion with the previous image.
Renders the closest bucket found to the mouse pointer, when using the bucket image sampler. If the progressive sampler is used, V-Ray samples the closest pixels to the mouse pointer.
With this option enabled, you can right-click on the image and select Lock bucket starting point to lock the bucket (or sampling) starting point.
Allows you to create a closed frame within the VFB viewport and renders everything within the frame created.
This can be useful to adjust individual materials in your scene without having to render the entire image out. Simply click on the region render icon to exit region render mode
Starts an interactive render
Stops the current rendering.
Starts a production render
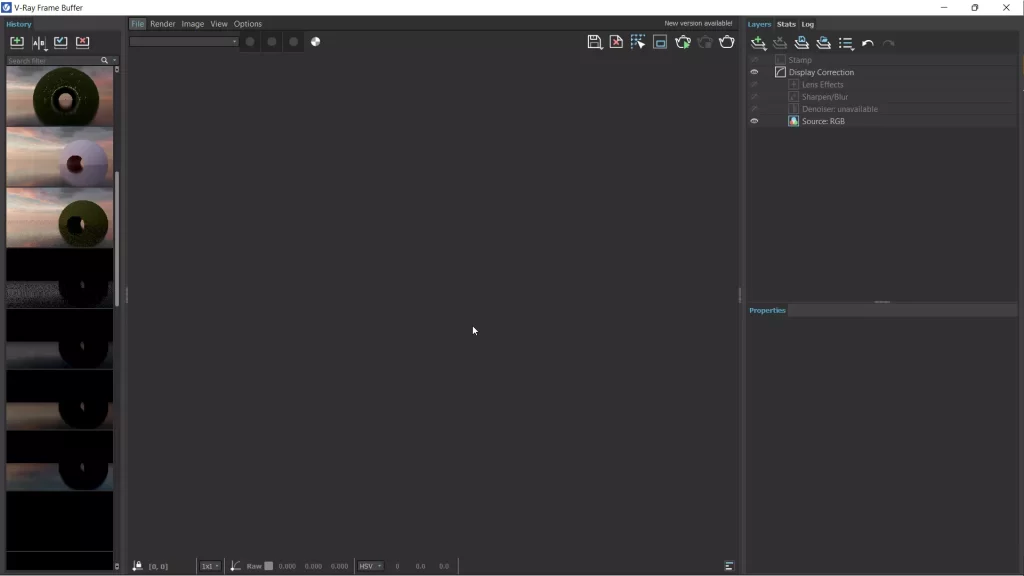
A QUICK OVERVIEW OF LAYERS AND HISTORY IN VFB
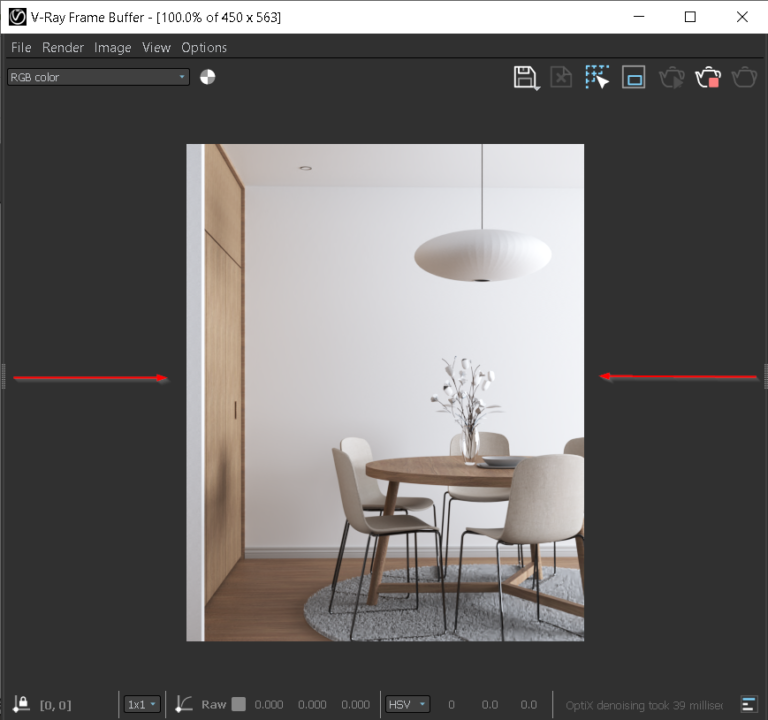
The V-Ray Frame Buffer includes a history tab on the left side and a Layers tab on the right side of the VFB respectively.
To access these settings you need to simply click and drag on the icon as shown below. Double-clicking on the icon will collapse the respective tab.

RENDER HISTORY
The VFB keeps a history of previously rendered images and lists each with a number, thumbnail, and textual details in the Render history panel. Up to four images can be called from the history to be compared in the VFB
LAYERS
The New V-Ray Frame Buffer includes a suite of color corrections and tools for adjusting the image.
The tools are added as layers and displayed in a layer tree. You can enable or disable a particular tool using the visibility icon (![]() ) to the left of its name.
) to the left of its name.

Creates a layer. Multiple layers of the same type can be added.
Folder – Allows grouping multiple layers;
Background – Adds a background color correction layer;
Render Element – Selects a render element from your image that you can use in compositing. This is only available when the Source layer is set to Composite;
Constant – Adds a solid color that can be used to achieve an effect on another layer (for example to multiply by the constant);
Exposure – Adds an Exposure color correction layer;
White Balance – Adds a White Balance color correction layer;
Hue/Saturation – Adds a Hue/Saturation color correction layer;
Color Balance – Adds a Color Balance color correction layer;
Curves – Adds a Curves color correction layer;
Lookup Table – A Lookup Table layer allows loading a LUT file for color transformations;
Filmic Tonemap – Contains different types of mapping curves and gamma corrections. Also allows selection of a color space.
Deletes the selected layer(s).
Saves a layer tree preset.
Loads a layer tree preset.
Quick access to custom layer presets. You must set the path to it in the VFB Settings.
Undo create layer.
Redo create layer.
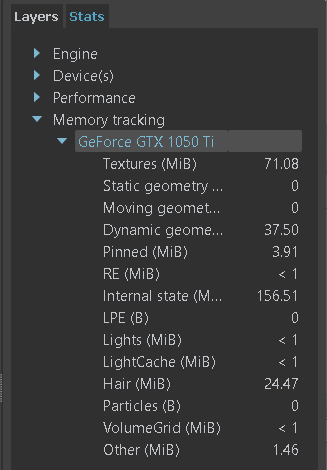
STATS
The Stats section provides track reports about the scene, the engine, the devices, the performance, and the memory.
Memory tracking is always enabled and there is no need for configuration.
The Progress Window in the bottom right corner of the new VFB is another way to open the Memory tracking.
We hope this blog has equipped you to render more efficiently.
If you would like a detailed explanation, please do check out our premium Sketchup & Vray Course for Interior Design
Check out our other Vray blogs which you might find useful.


